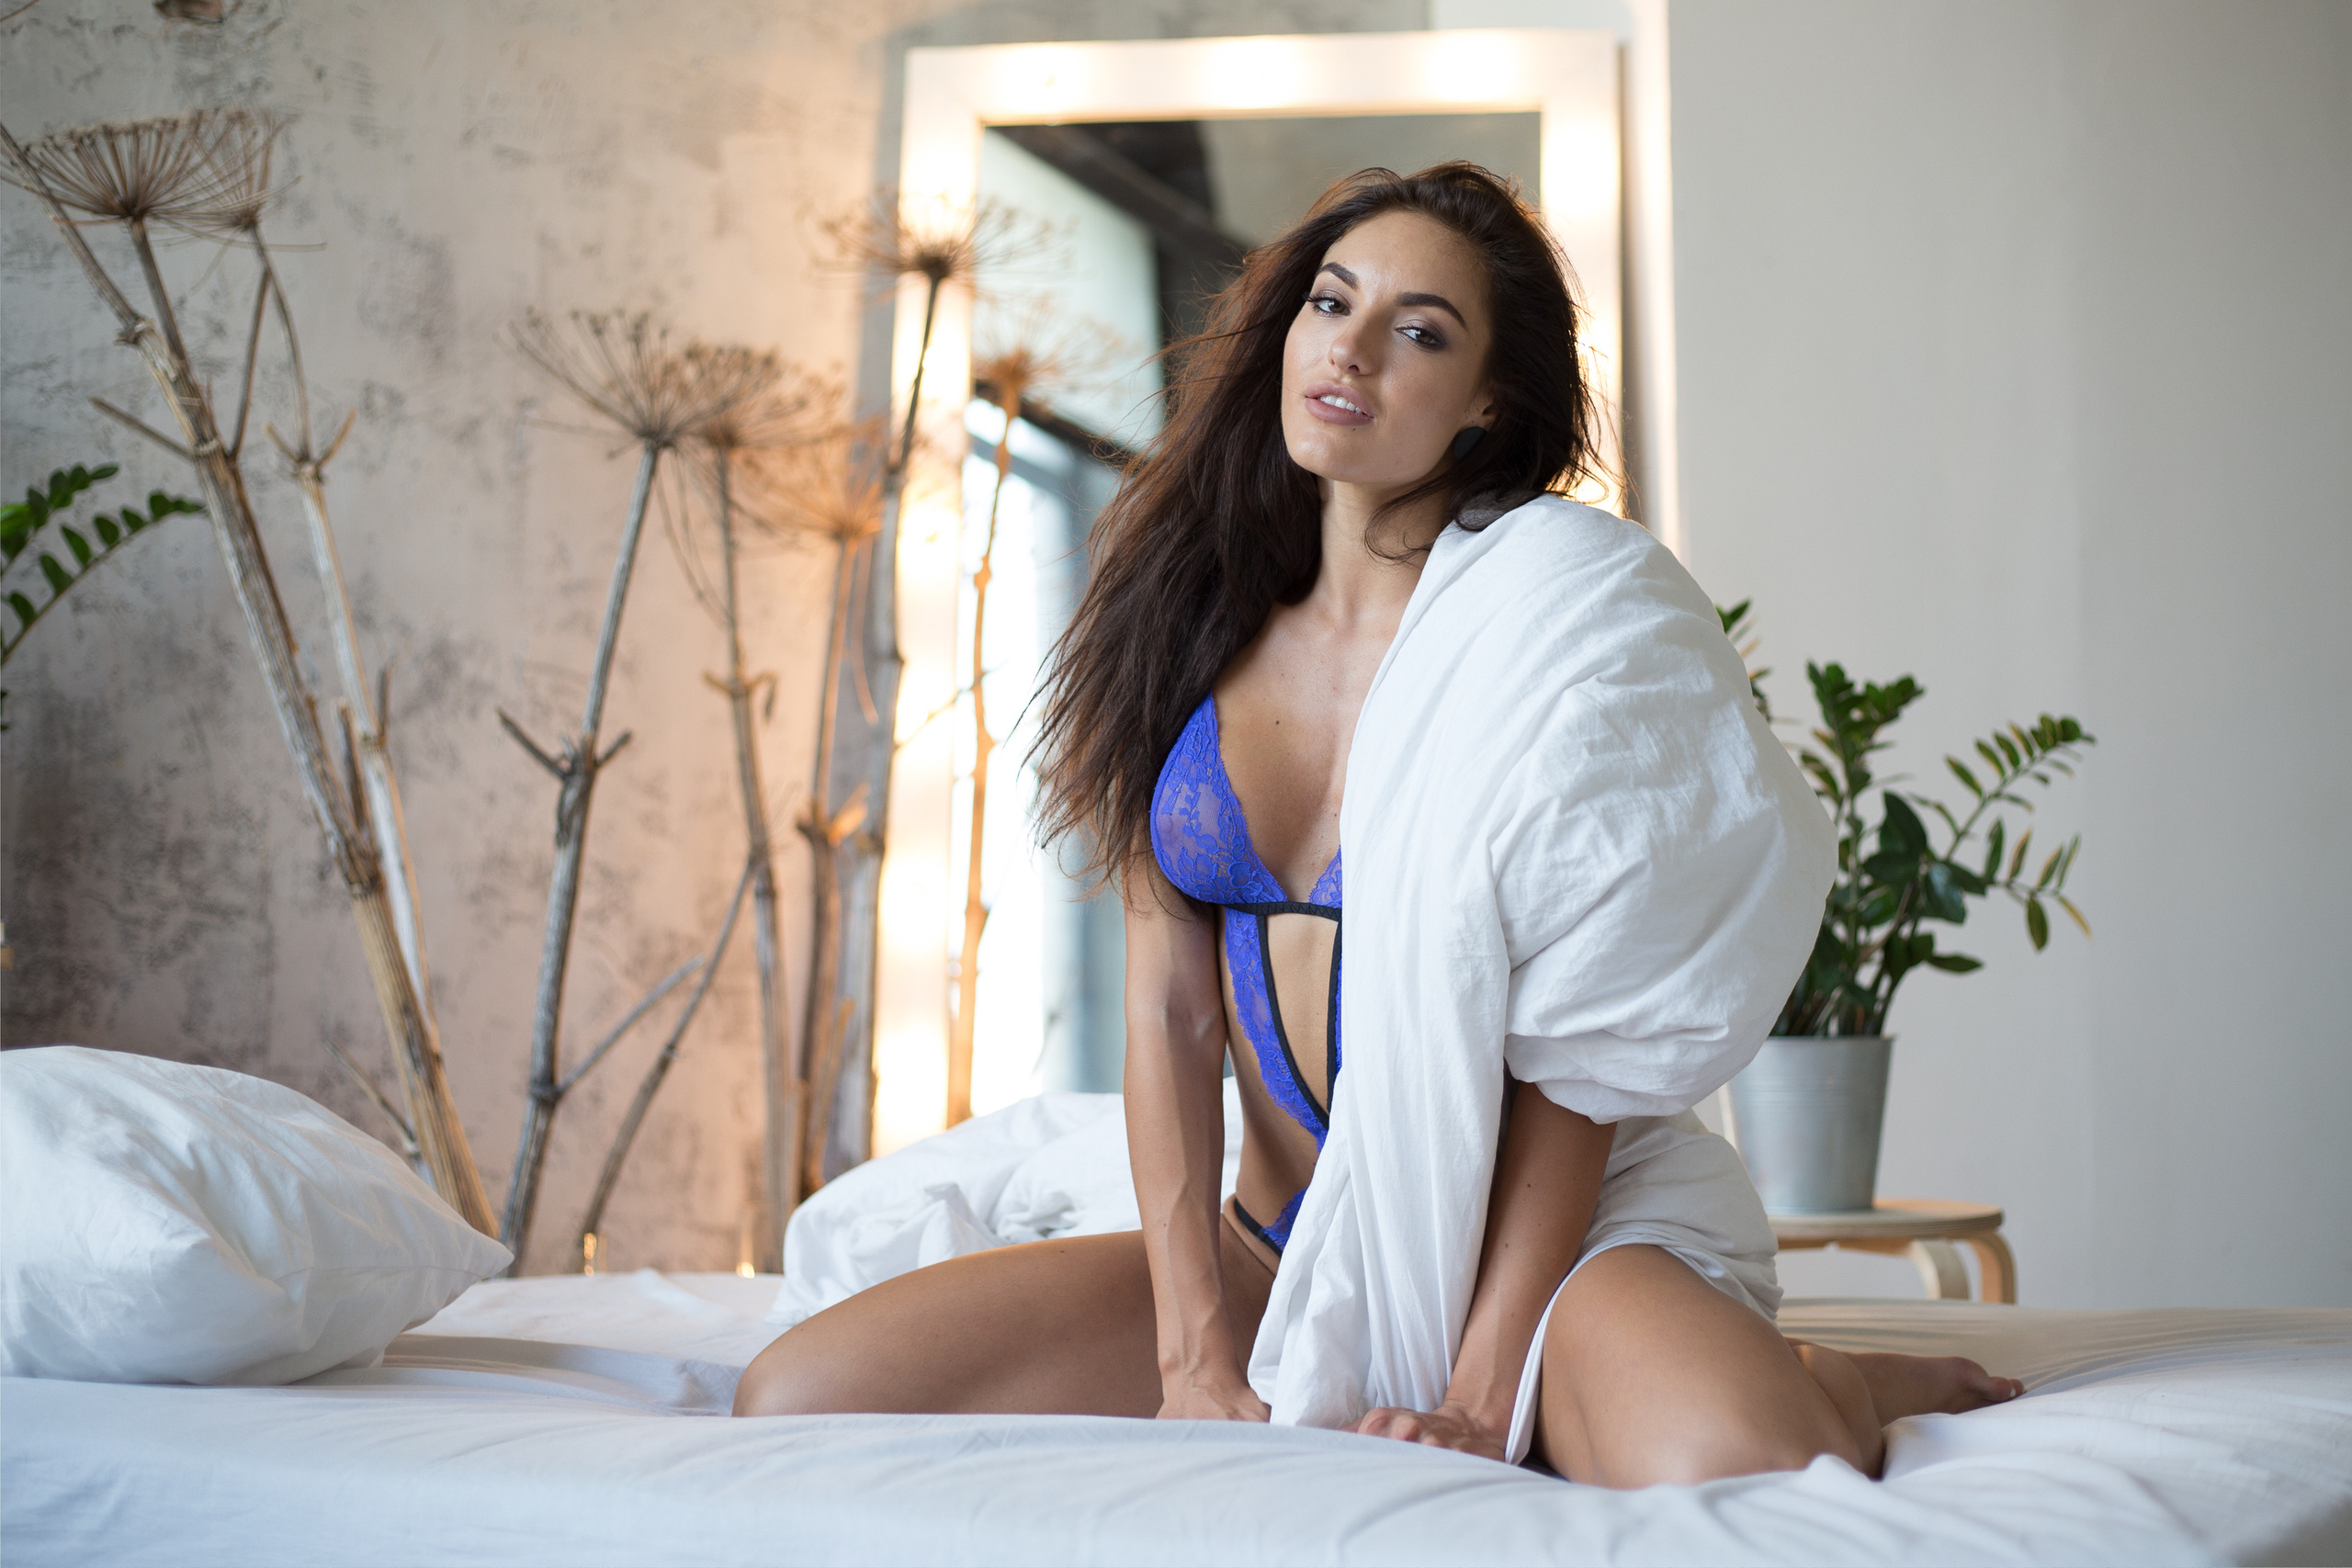
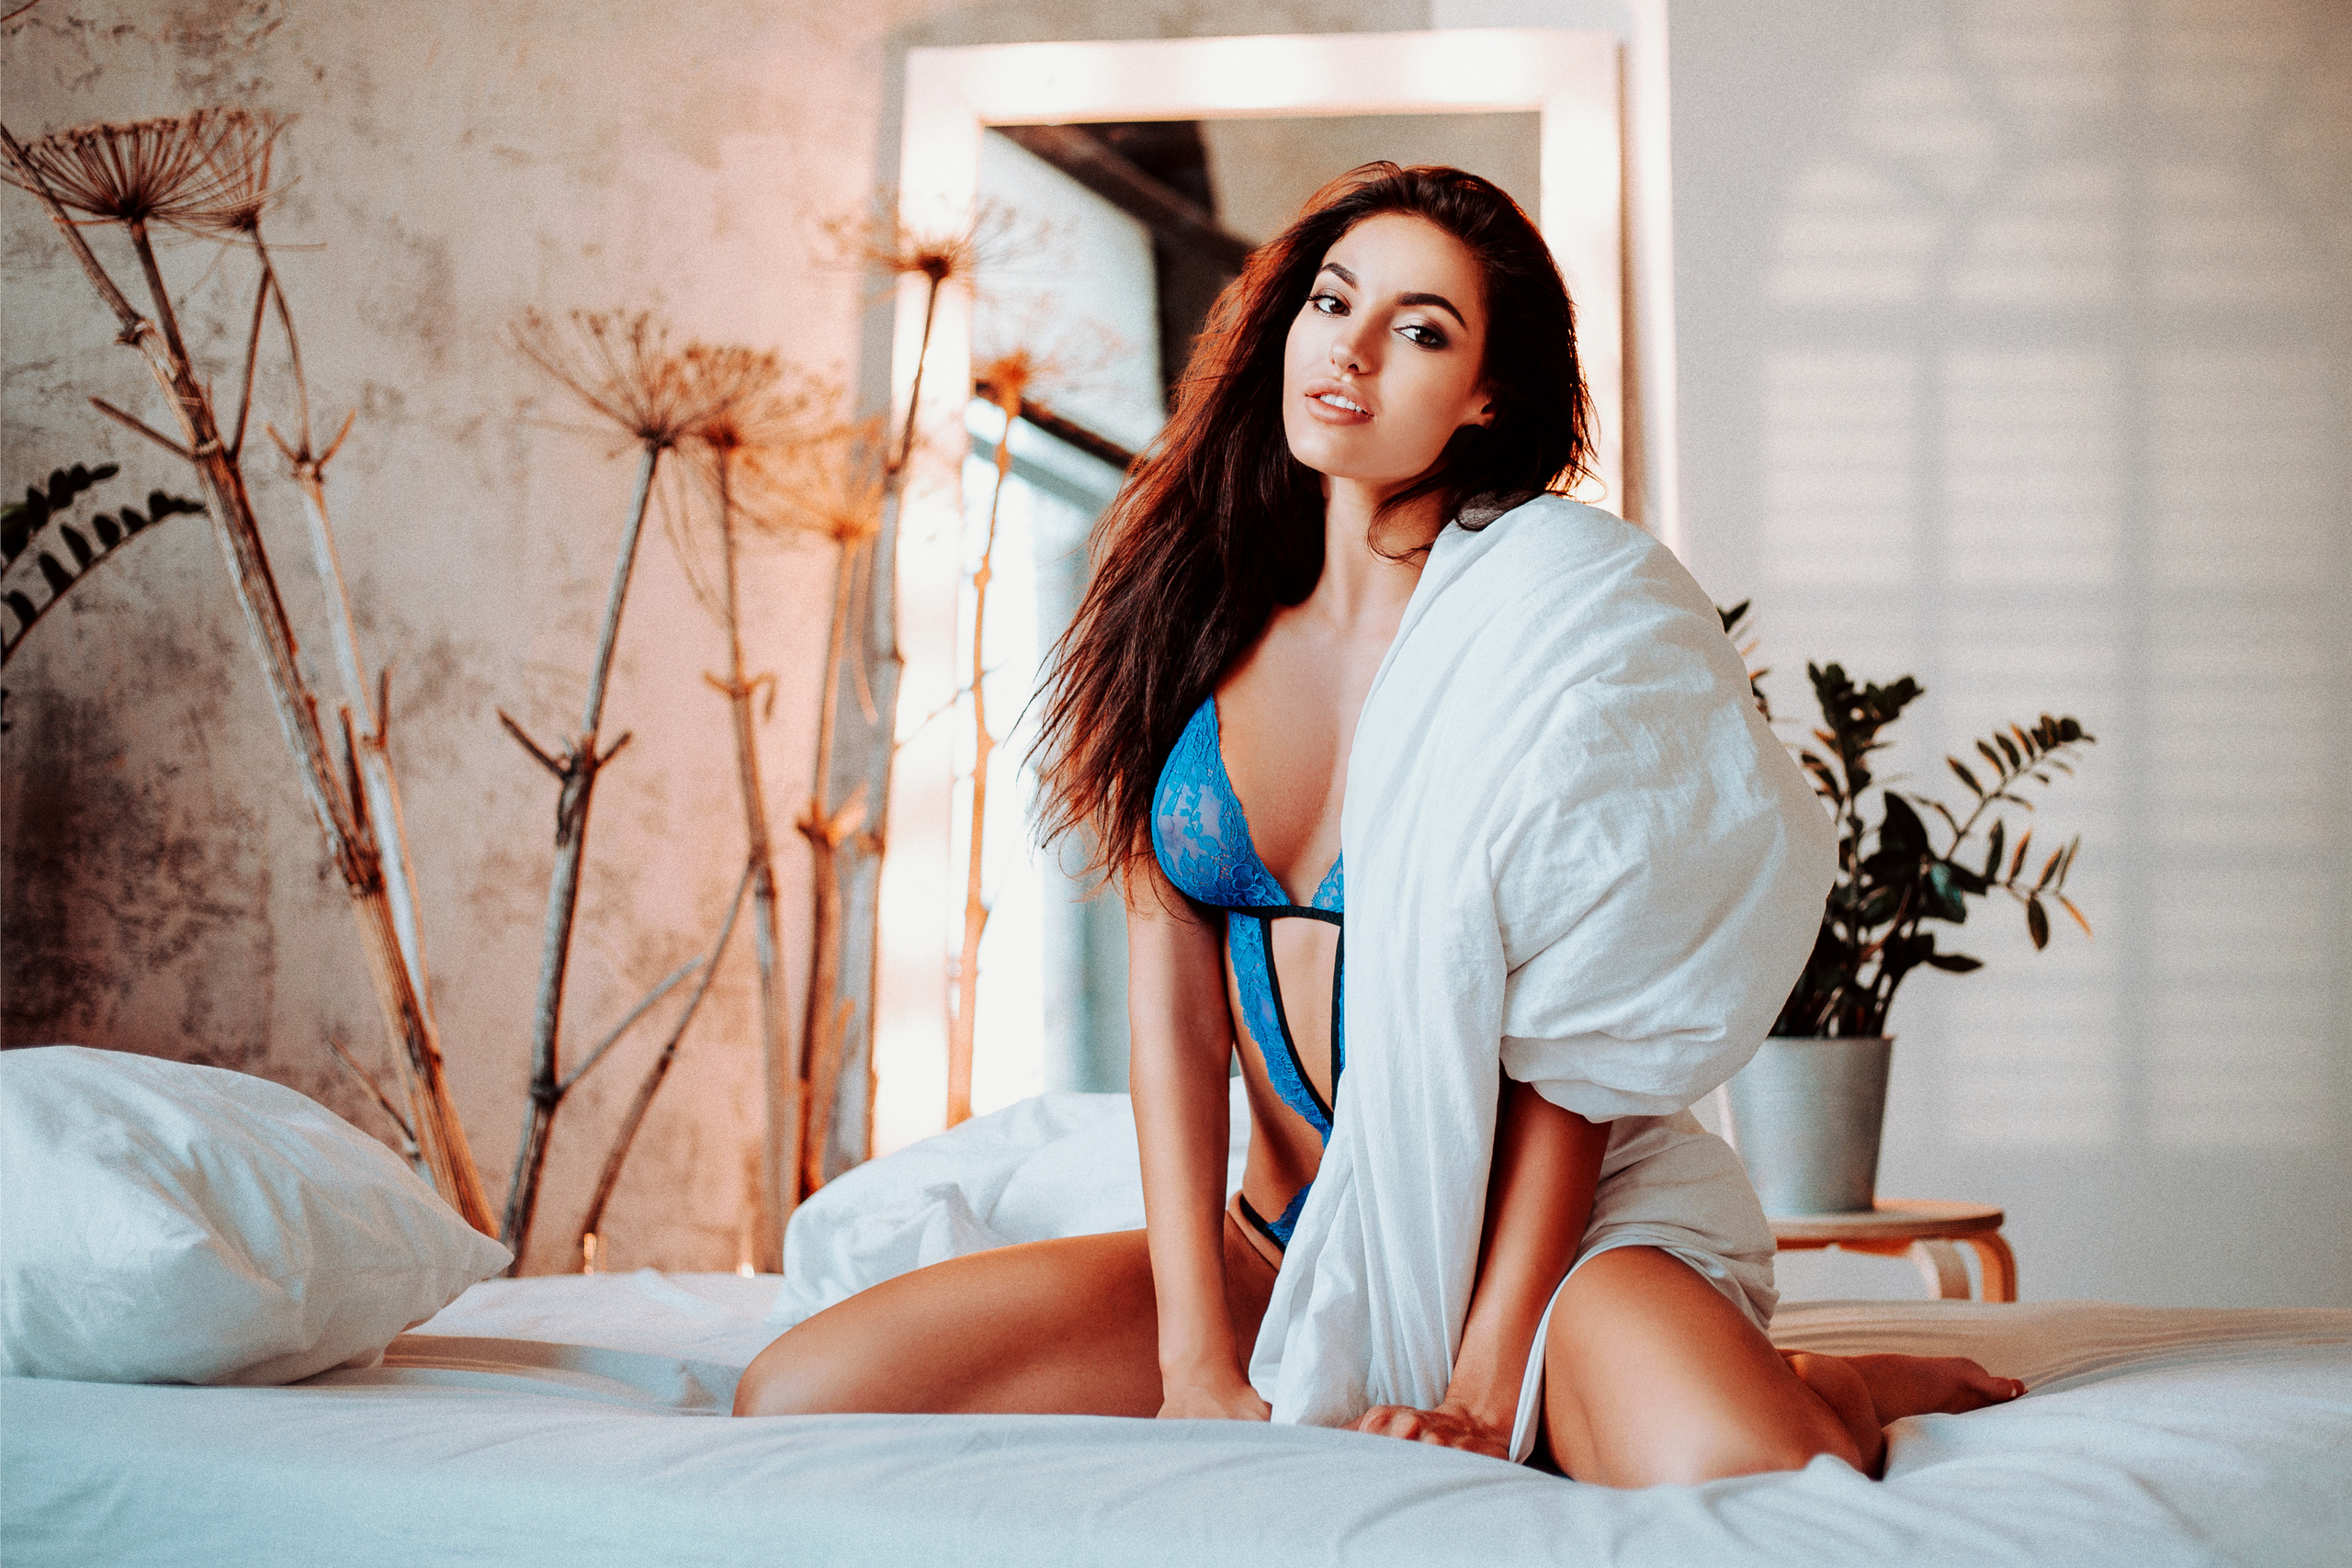
WELCOME TO MY PORTRAIT & BOUDOIR RETOUCHING COURSE!
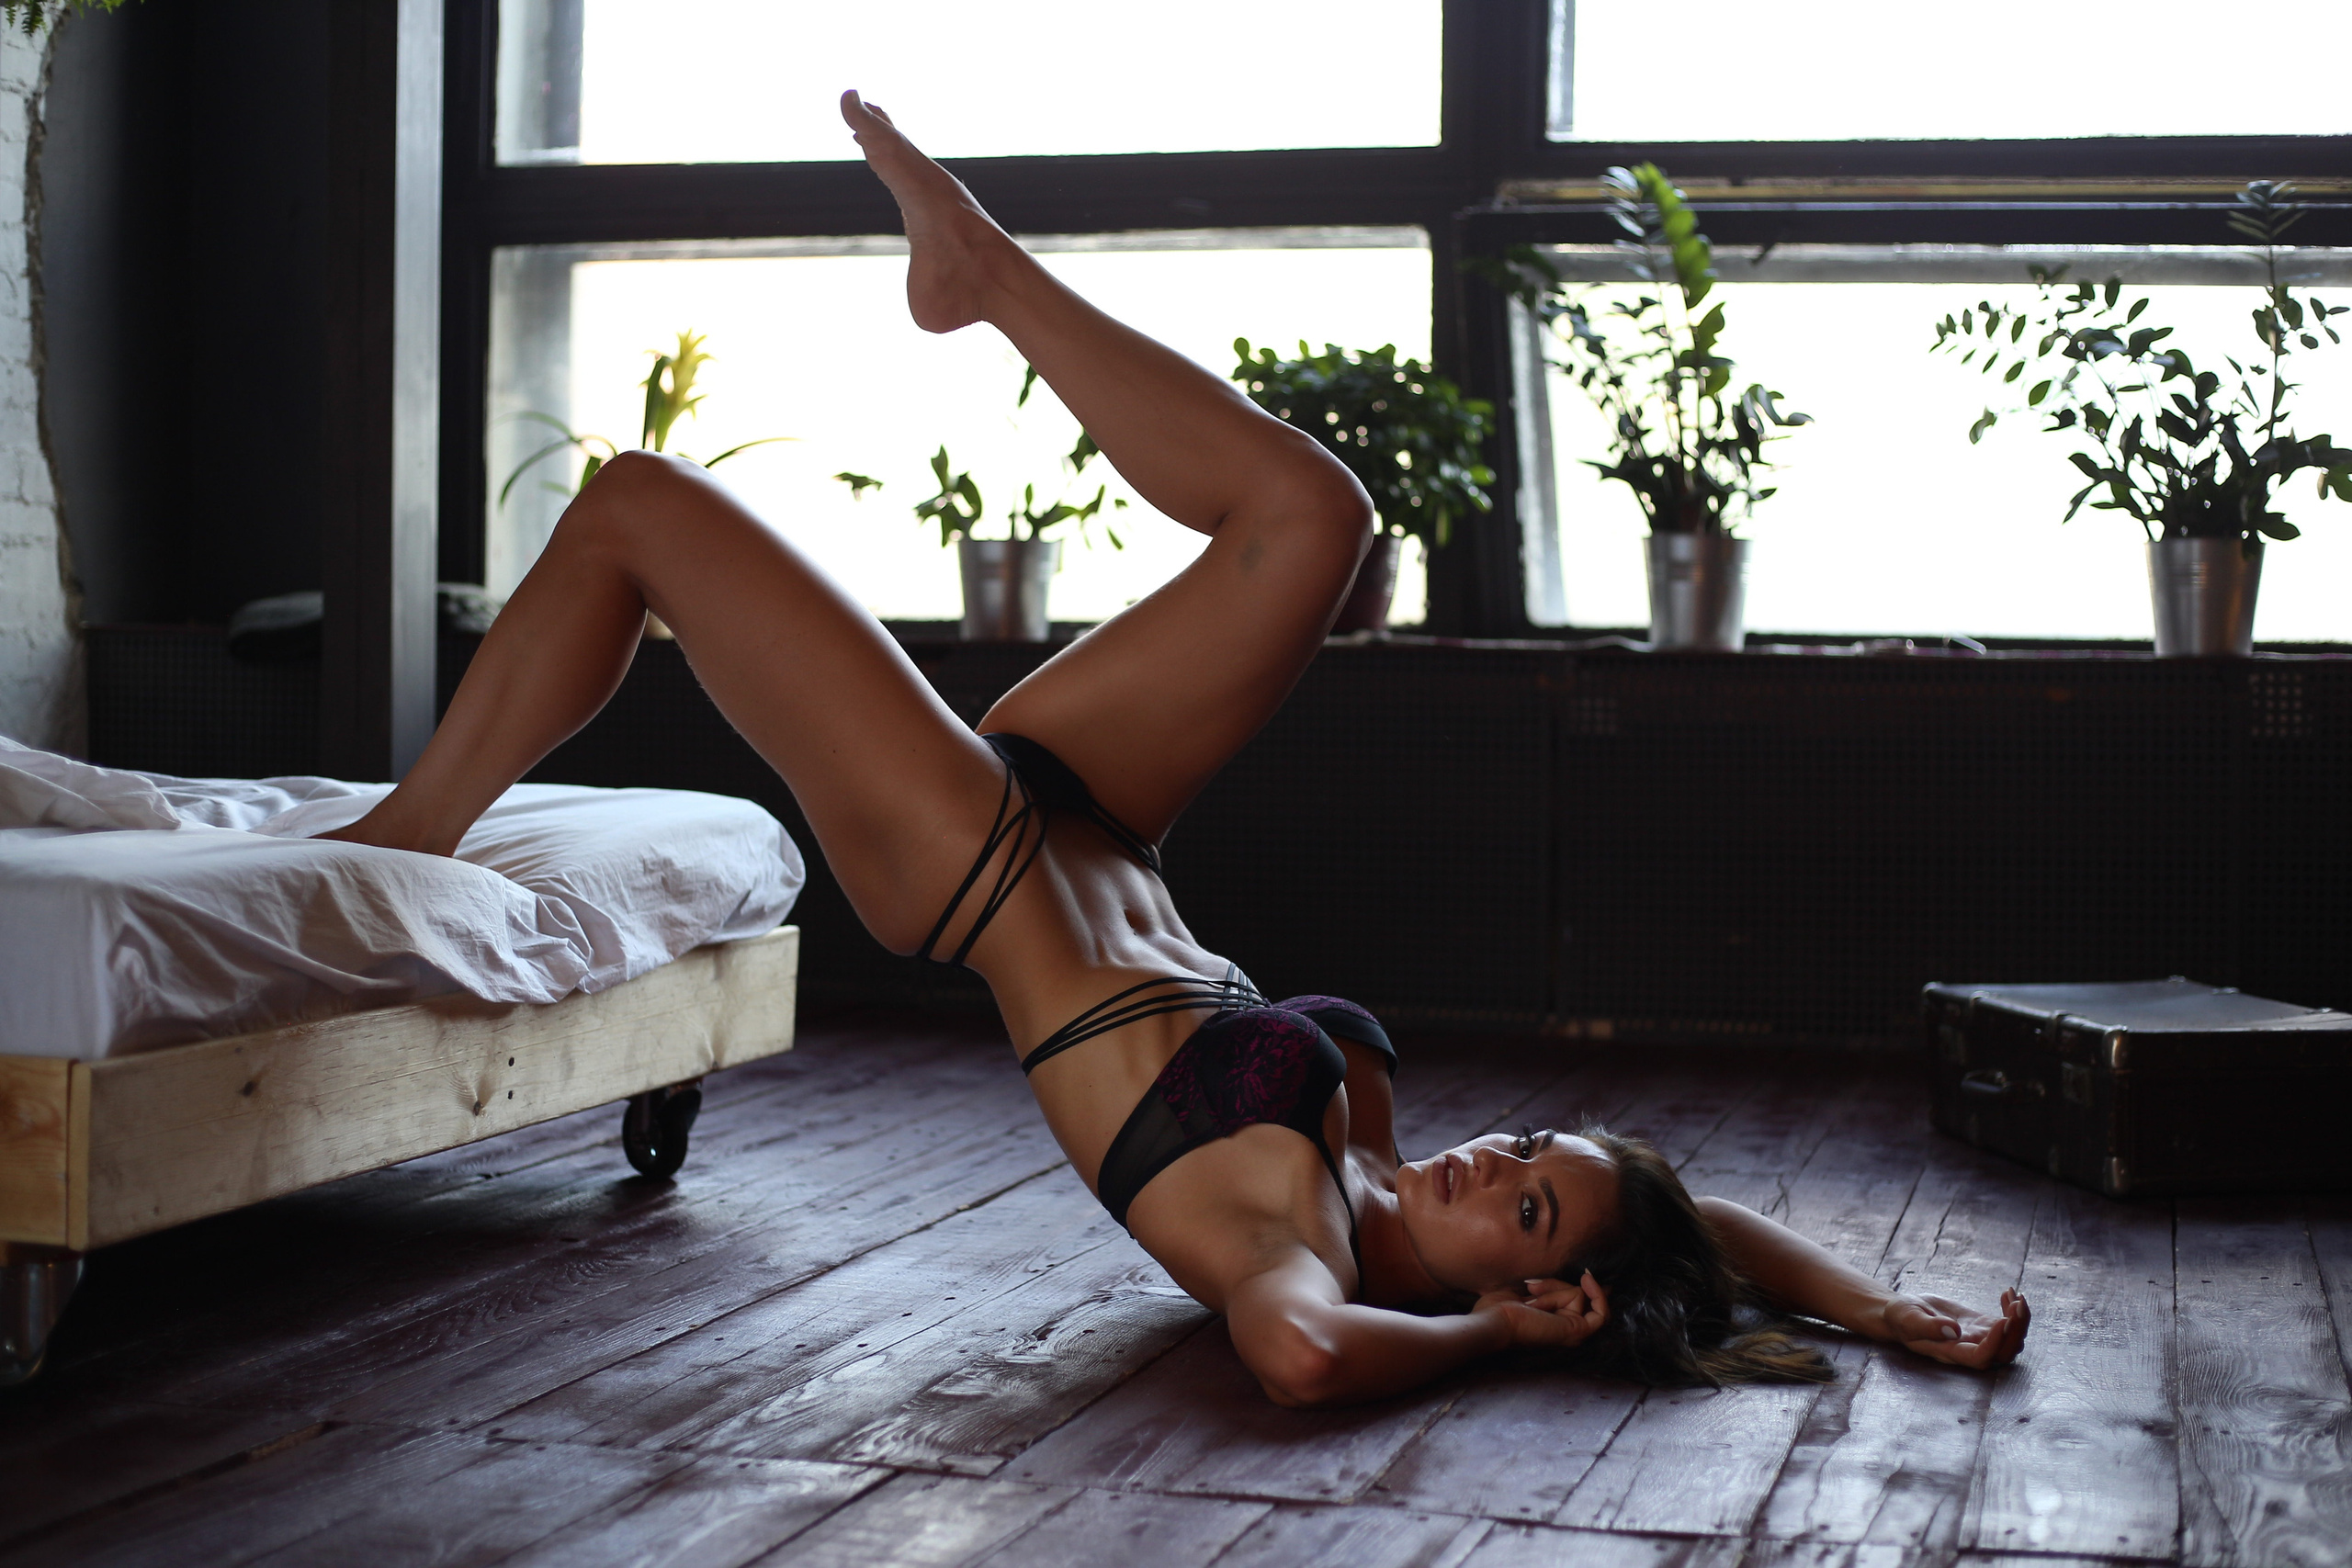
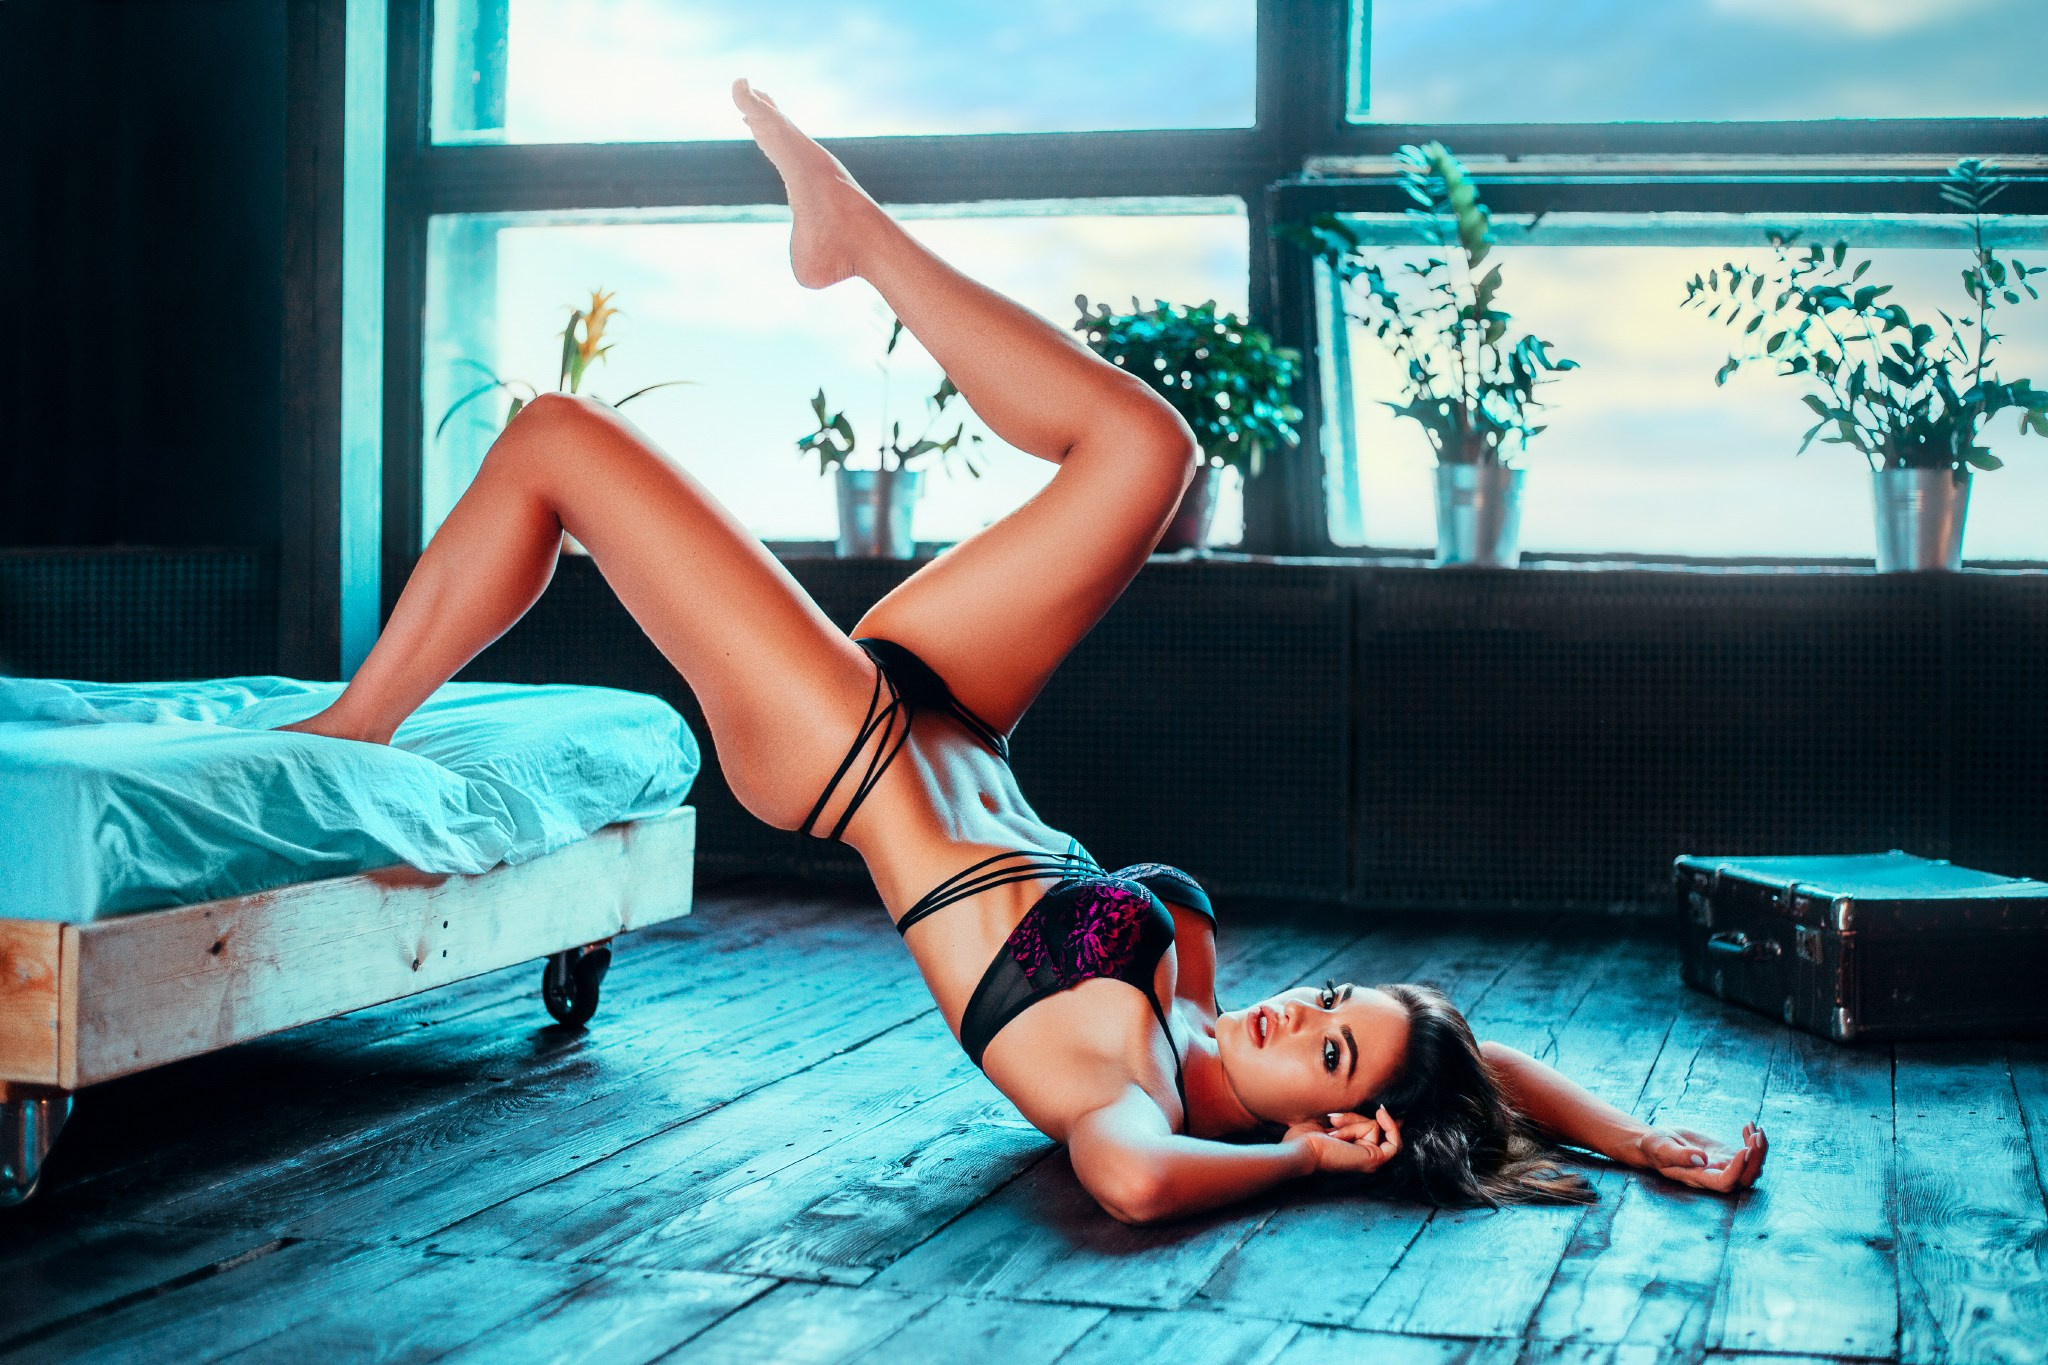
THE LESSONS INCLUDED COVER MY ENTIRE PORTRAIT EDITING WORKFLOW!
I will be guiding you through retouching, color grading and stylisation as you get familiar with tools, various techniques, and the thought process behind my portrait editing
workflow.
In spite of more than 3 HOURS of study material, some basic experience with Photoshop
is recommended, however I believe that you’ll easily follow along even as a beginner!
Things
we will be covering together:
Chapter I — Color Correction and Grading
Chapter II — Basic Skin Work
Chapter III — Advanced Skin Retouch
Chapter IV — Dodge and Burn
Chapter V — Detail Enhancement
Chapter VI — Plugins and Atmosphere
Chapter VII — Final Color Correction
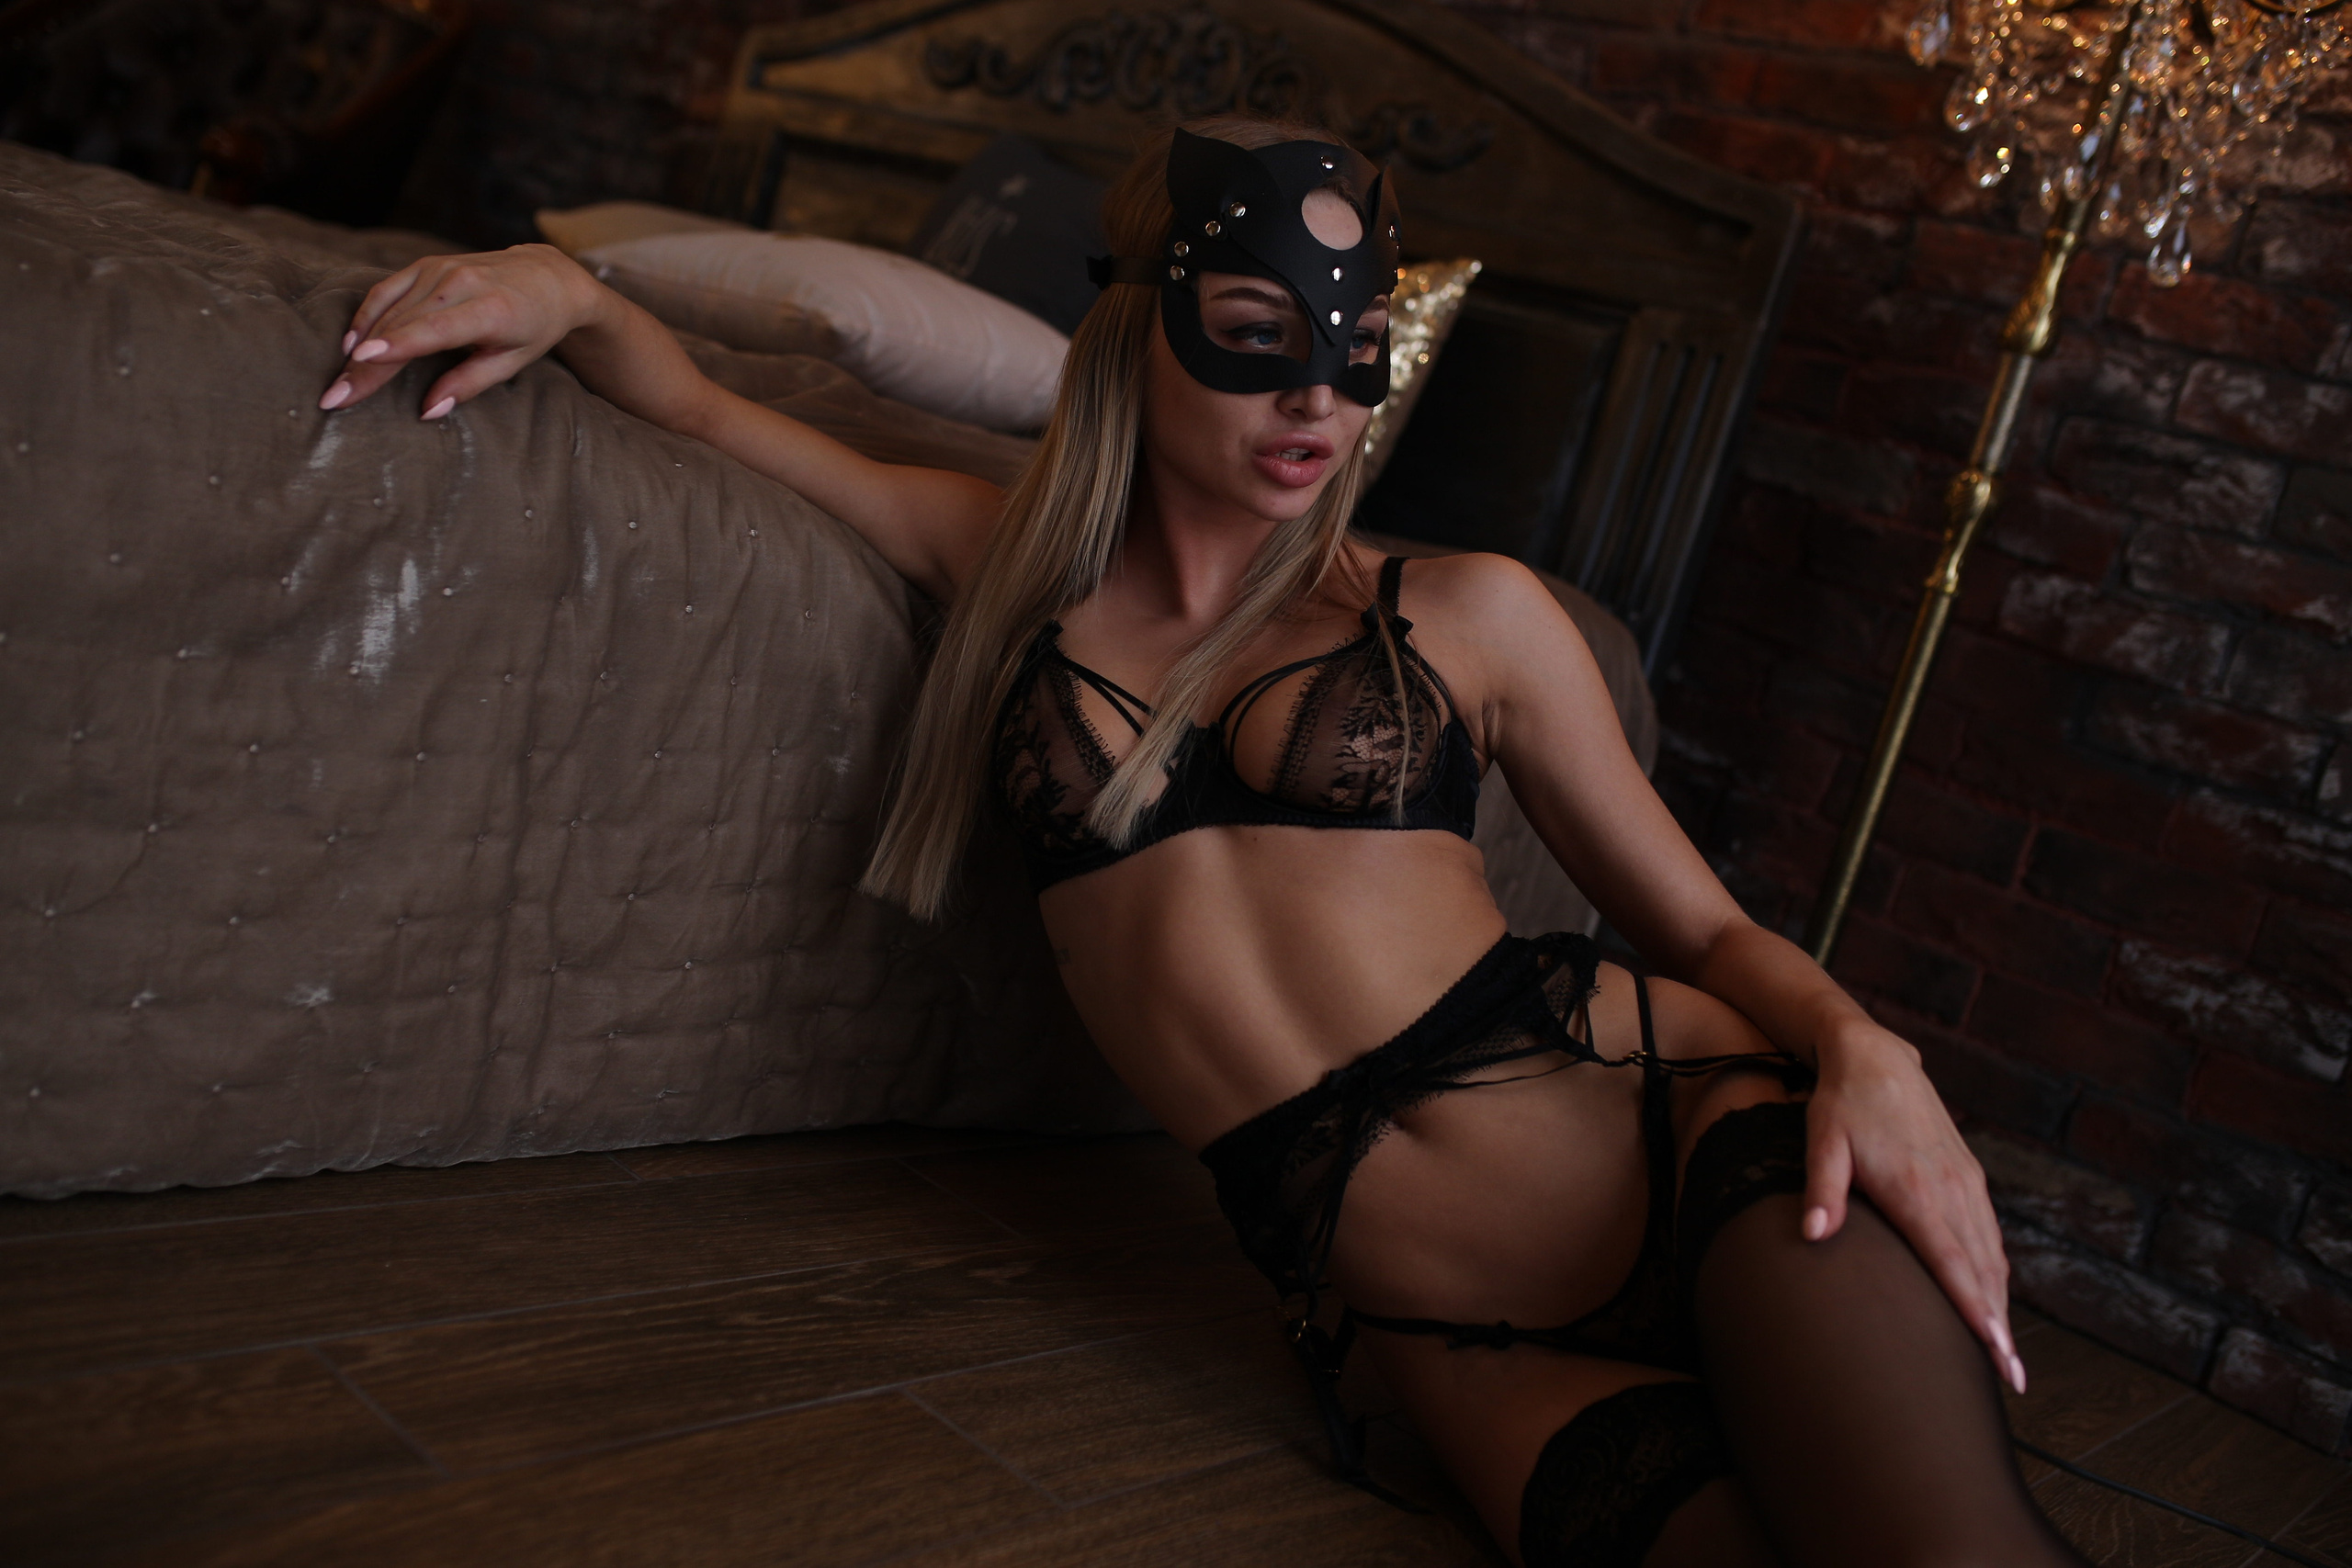
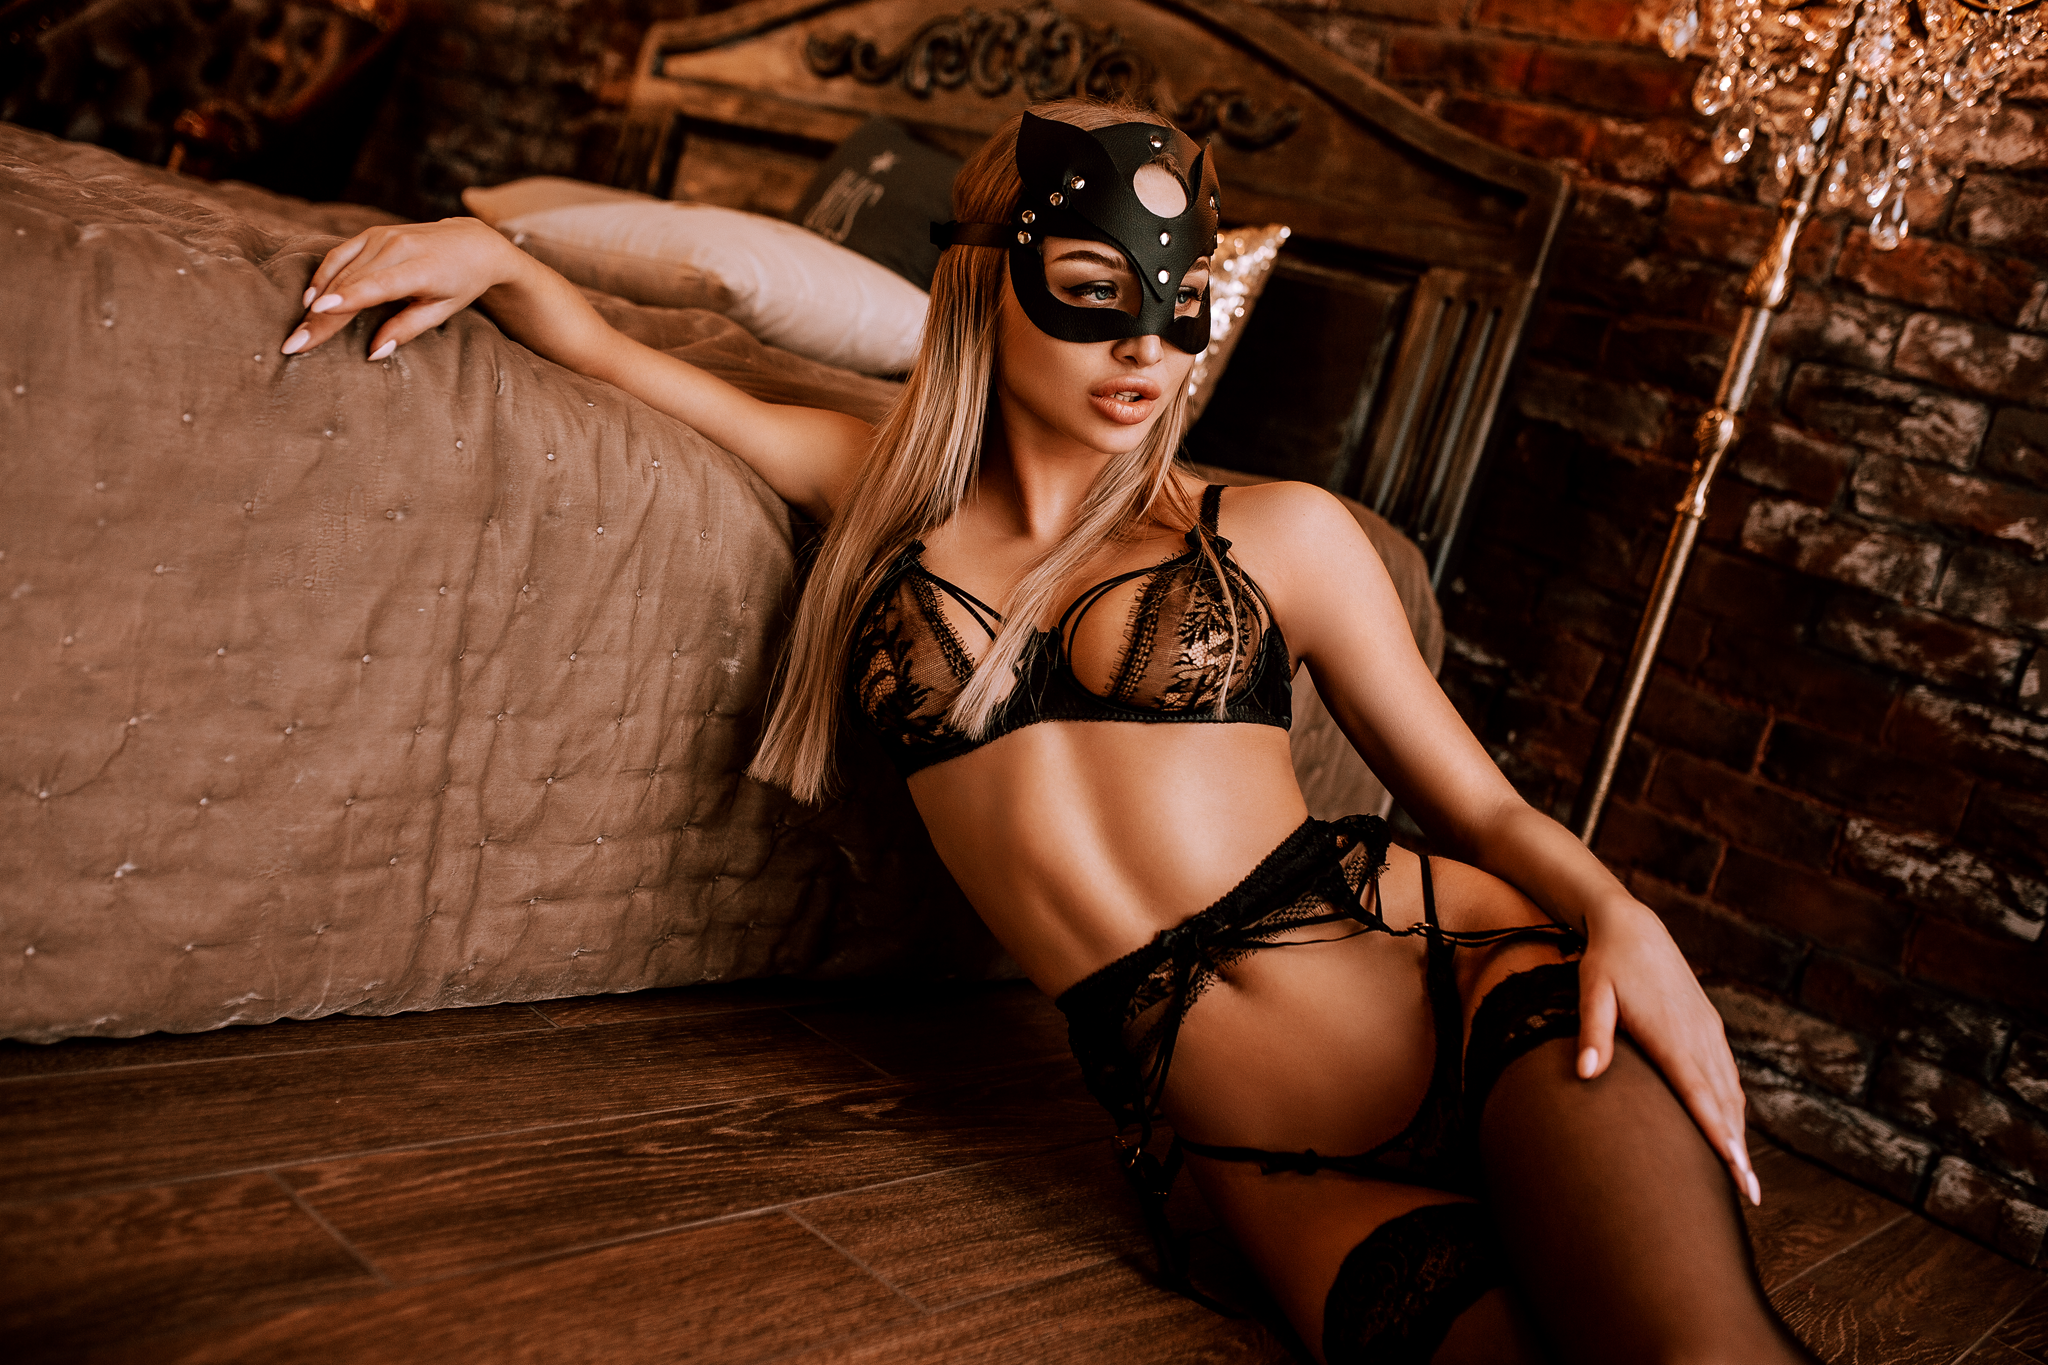
color grading in Lightroom / body shaping / dodge and burn contouring / detail enhancement / color contrast & complete retouch using Frequency Separation with patch tool fade and MB techniques
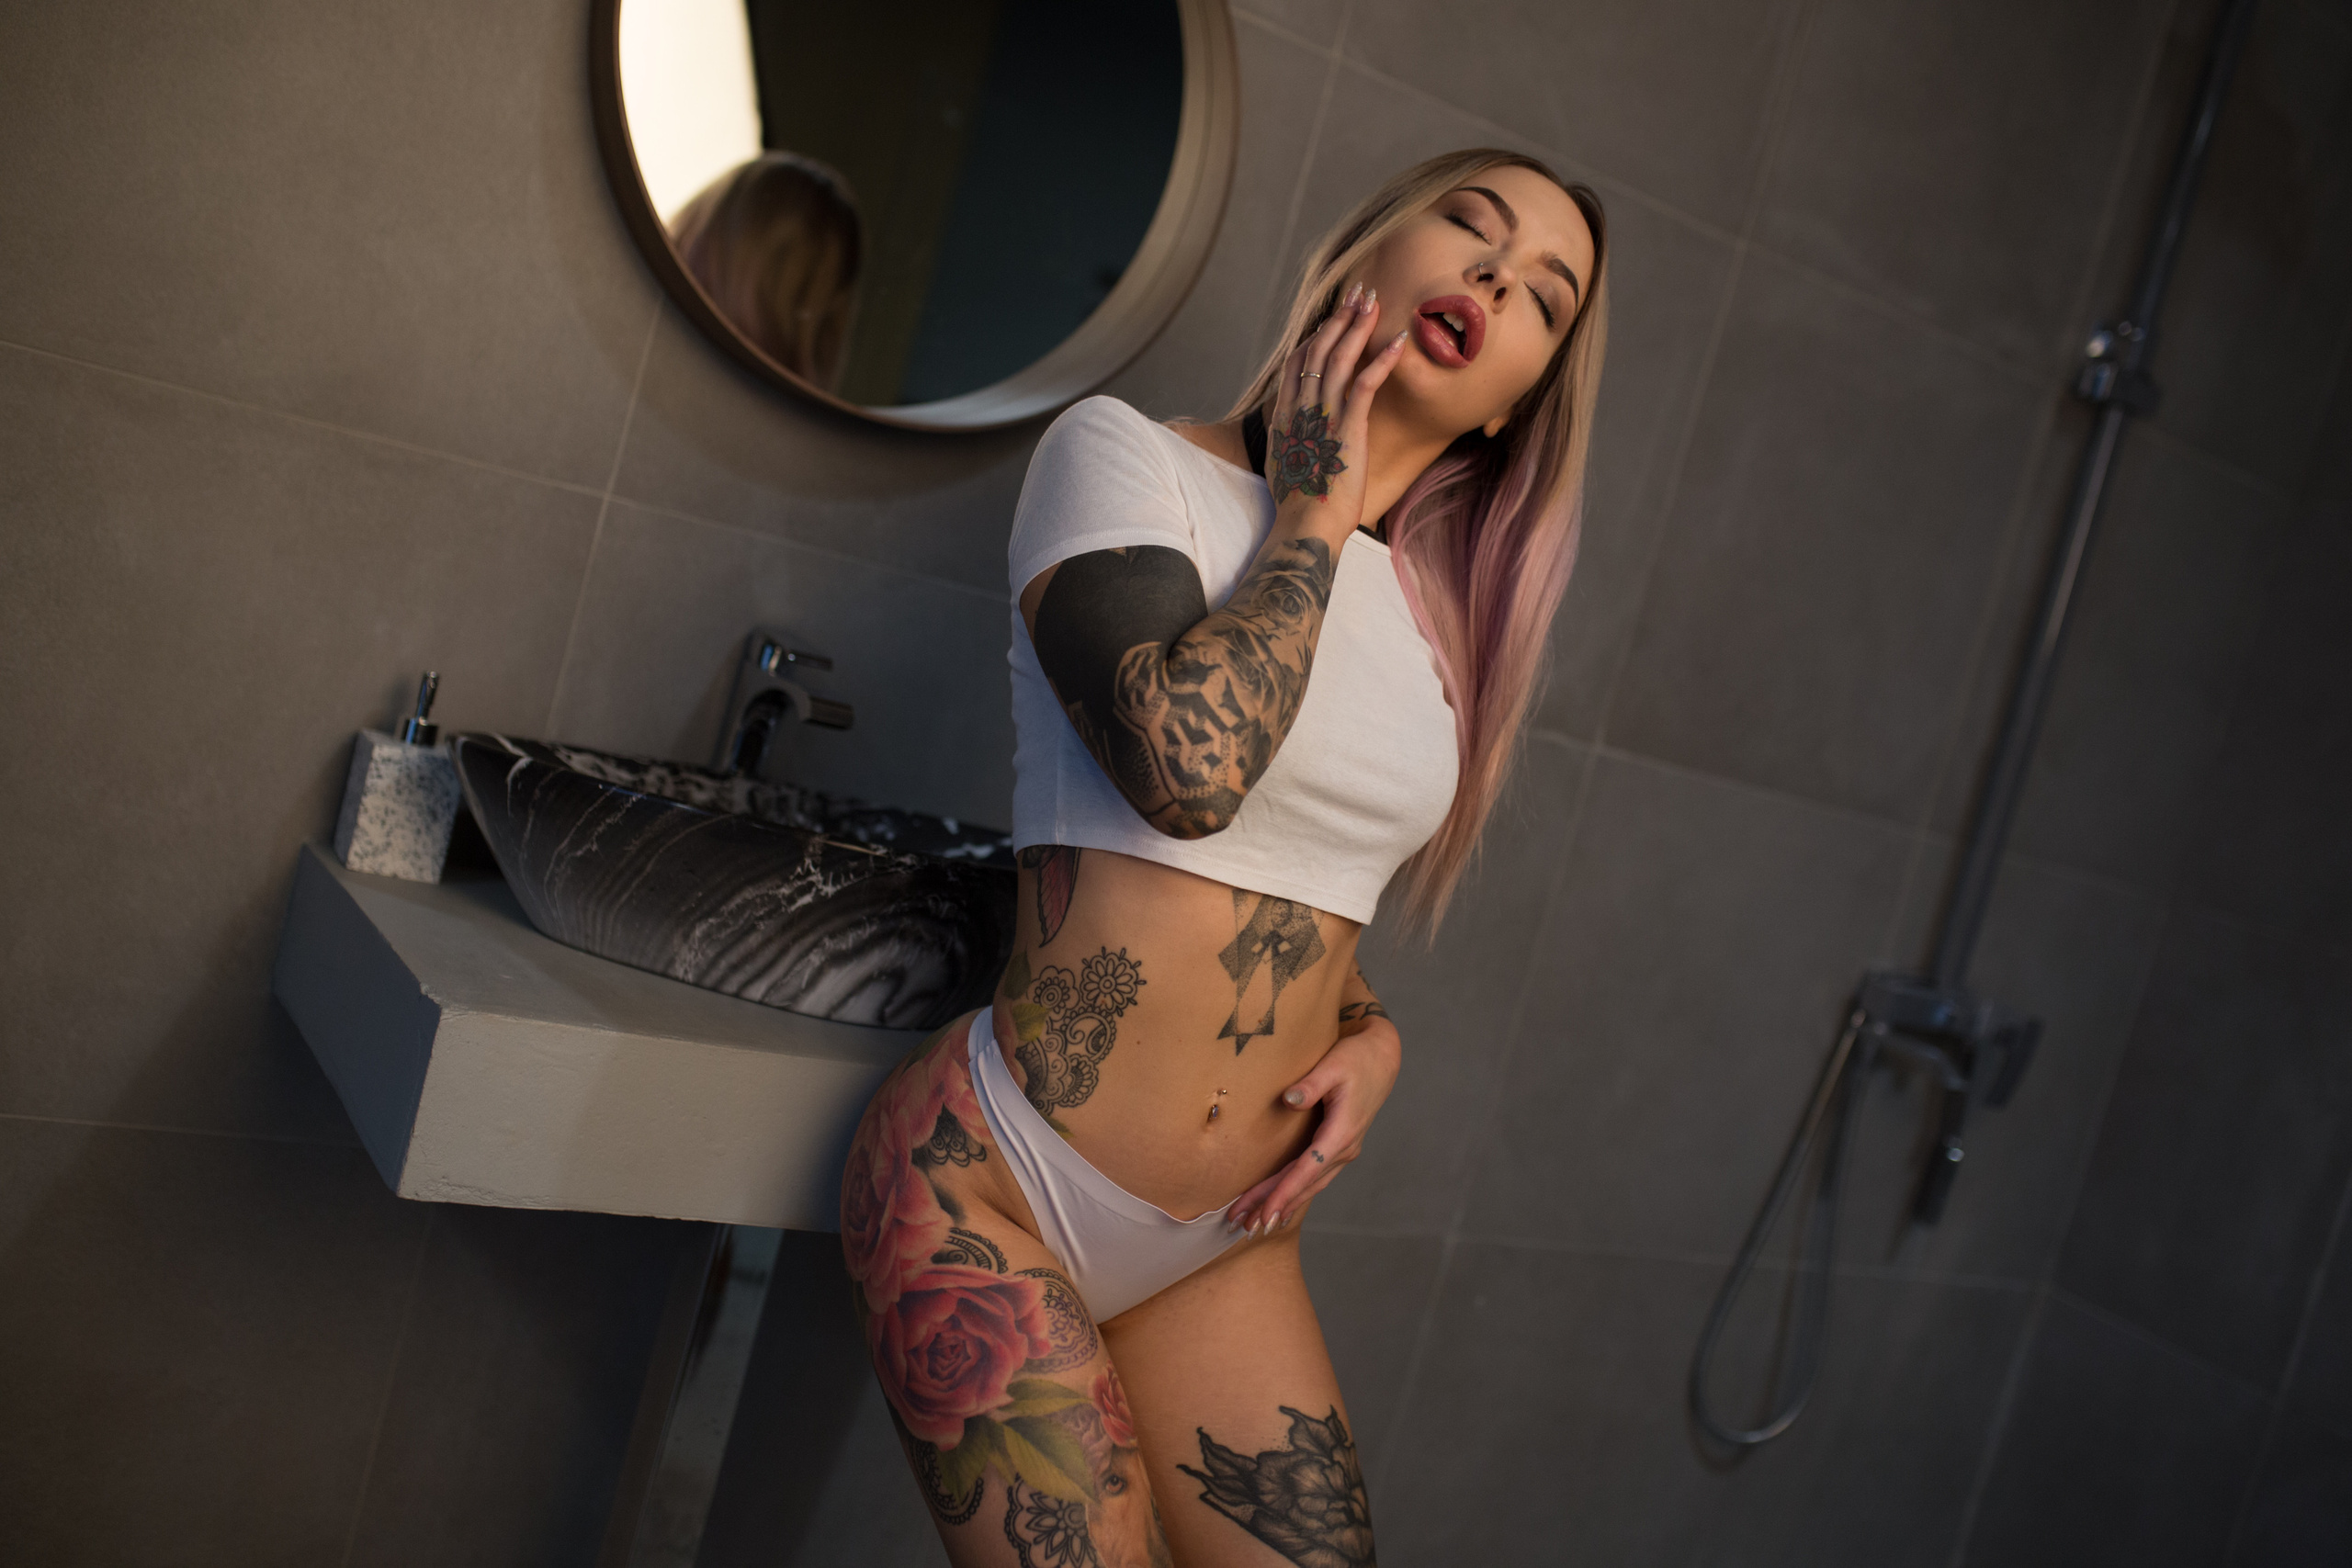
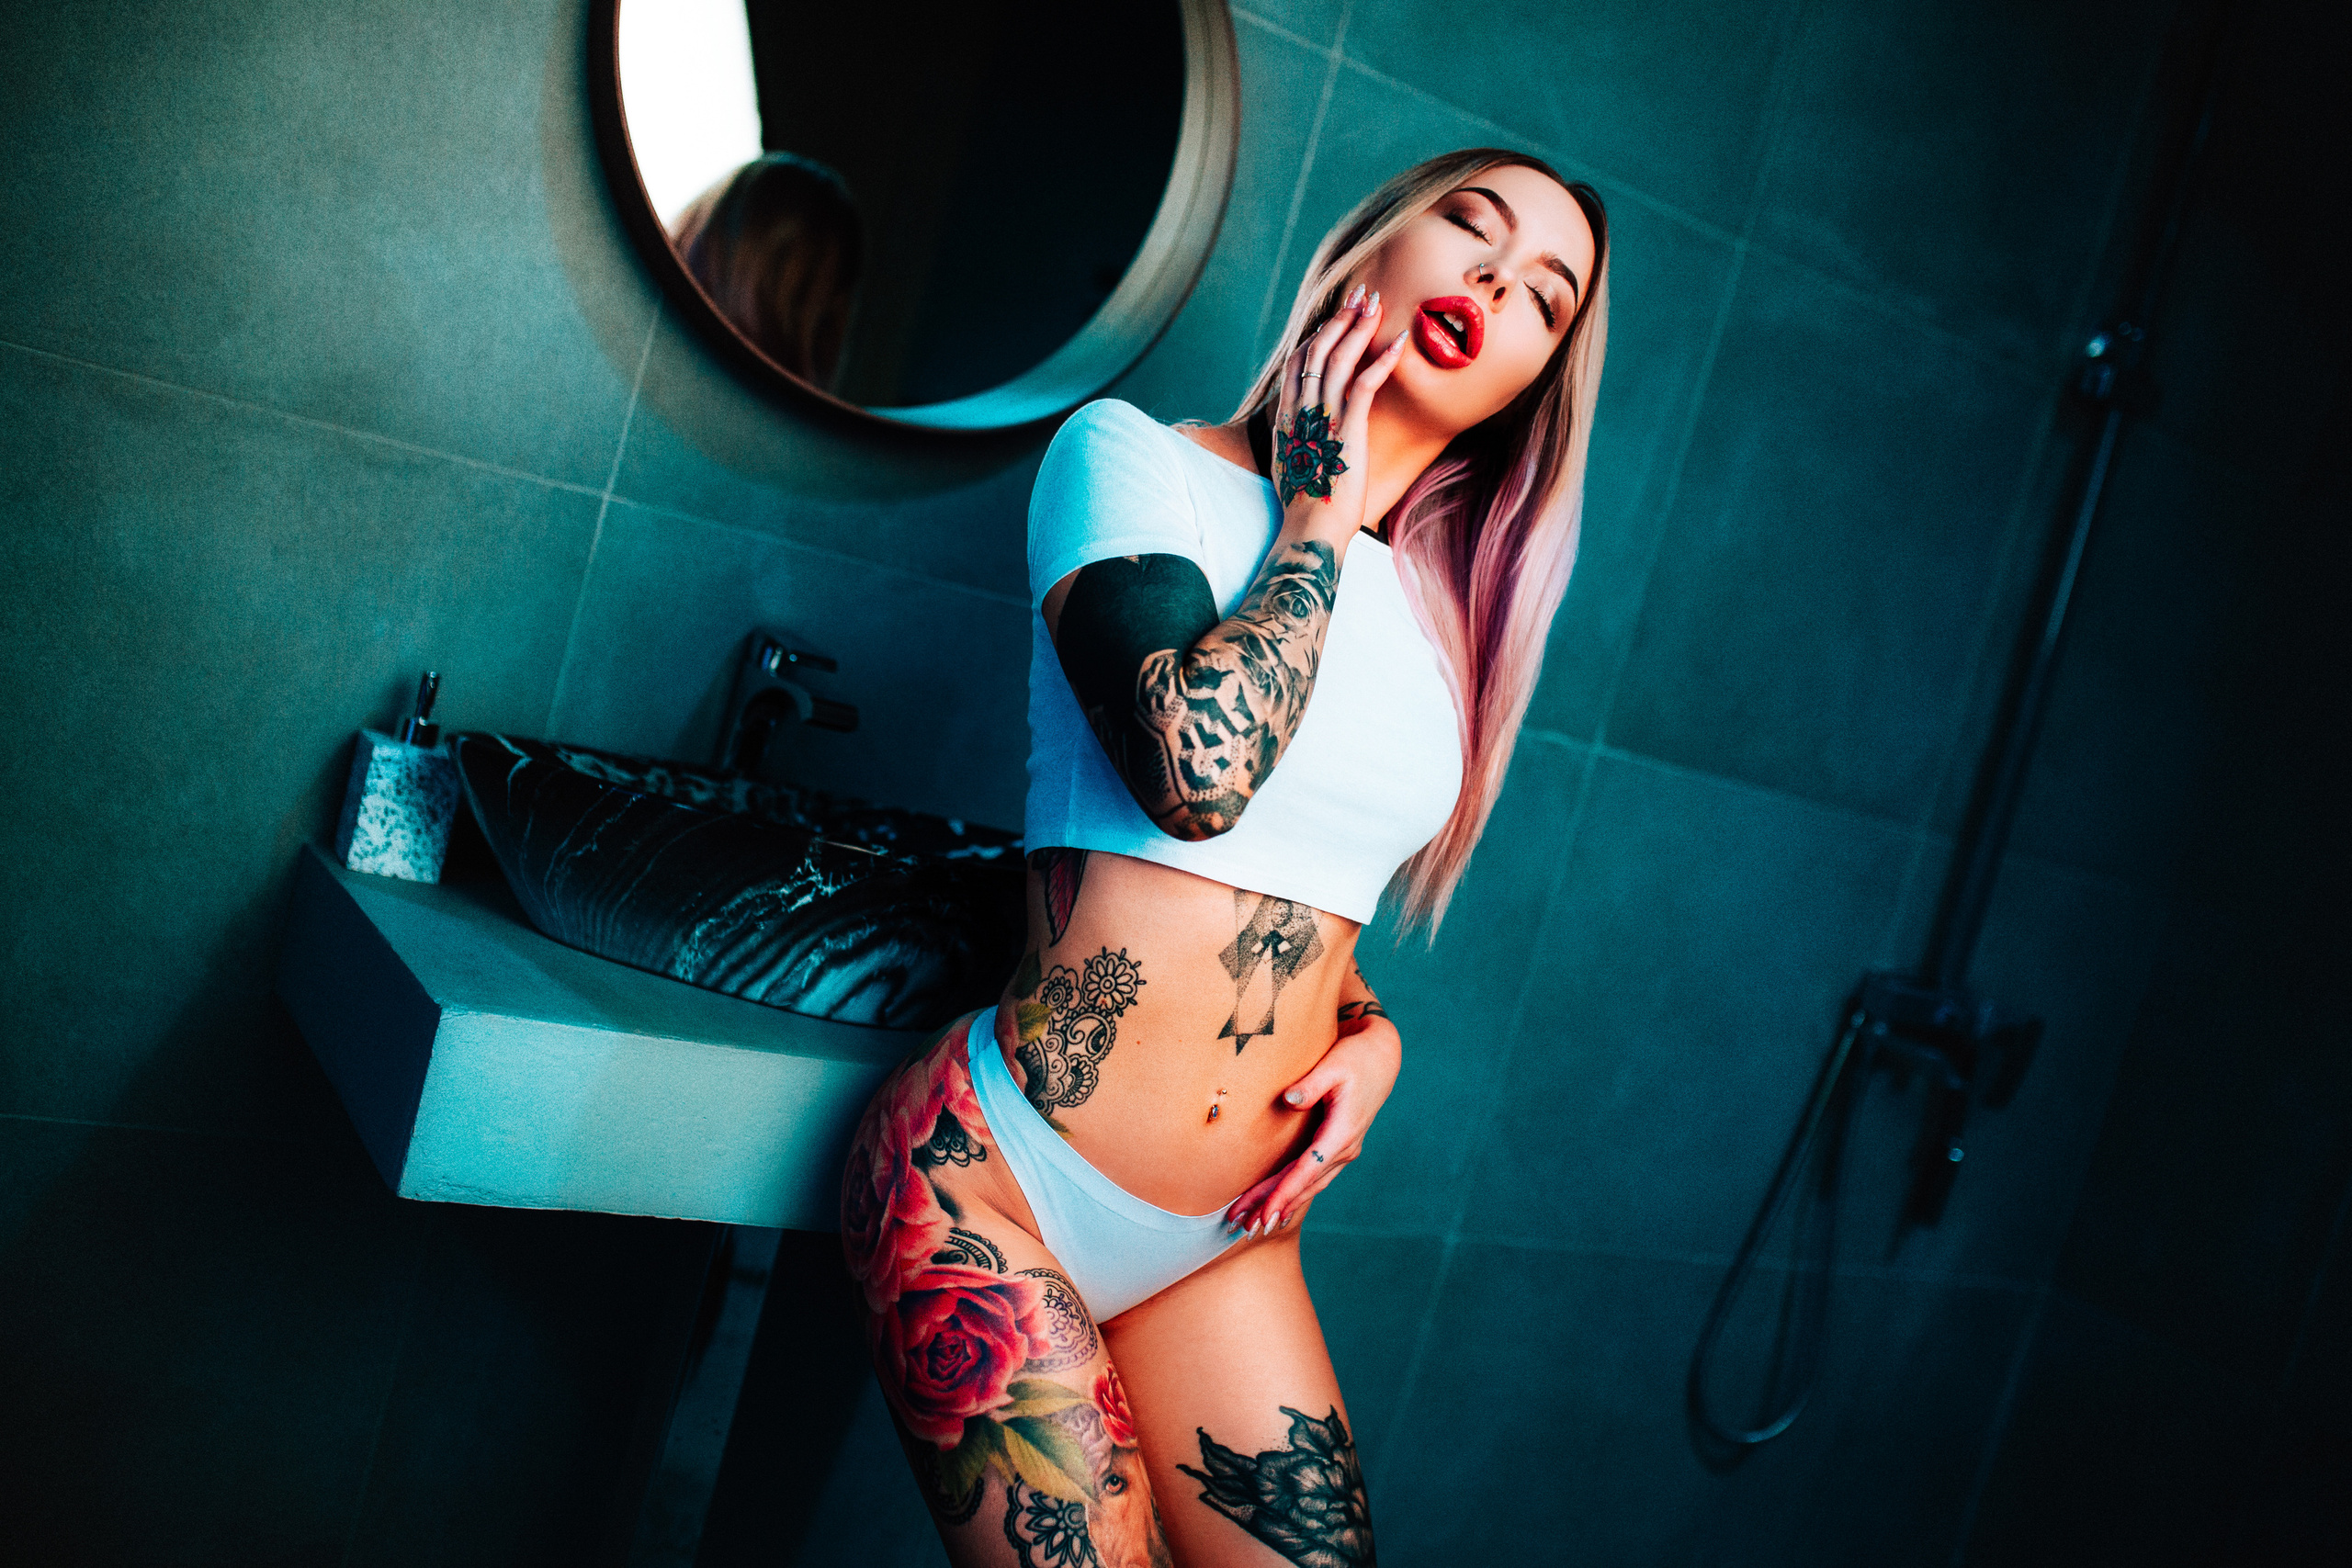
complementary palette color grading in Lightroom / dodge and burn / detail and tattoo enhancement / color contrast & complete skin work using Frequency Separation with MB technique
ABOUT THE CHAPTERS OF THIS COURSE:
Chapter I — Color Correction and Grading
Full start-to-finish walkthrough of the coloring and stylization process of an indoor portrait shot via Lightroom/Camera RAW, with complete explanation on Lightroom setup and panels and how we can use them to create subject separation with color.
This will also serve as the analysis of colors present in a raw file and a discussion on finding color harmonies that we can implement. Also included is a quick start to finish edit of an outdoor shot with before and after comparisons.
Chapter II — Basic Skin Work
Before covering the select few skin retouching tools, I will also show you some tips on working efficiently within Photoshop. We will cover the retouching actions I use every day to save time, the many functions of layer masks, the right way to use clone stamp tool, the combination of patch tool and fade technique, the transparent layer and how I use it to fix color, body shaping using liquify, and how you can creatively use the history brush.
Chapter III — Advanced Skin Retouch
Frequency Separation, the holy grail of skin retouch — the technique many speak of, yet so few master.
If it’s bad retouch, there is a 90% chance someone didn’t understand how actually retouching using this technique should be done. This lessons chapter aims to alleviate the stress and show you a correct, professional and, trust me, the easiest way to do it! Most YT teachers never mention the Mixer Brush or Patch Tool Fade techniques when working with Frequency Separation. I will tell you all about it and how you will preserve all that skin detail while giving your image a high end polished look. All of the photos I’ve ever retouched were done this way!
Chapter IV — Dodge and Burn
This tutorial breaks down 3 types of Dodge and Burn techniques in a
beginner-friendly manner:
the Global D & B, Local D & B and Micro D & B. All 3 are used to add depth and dimension to your image, creating the famous subject separation, commonly known as the ''3D effect''. I will teach you how to contour the body and face like the makeup artists do, shaping light to enhance certain features of the people on your photos.
The techniques taught can be applied to any portrait shot
(daytime / nighttime / neon / indoor, outdoor, etc.)
even to your landscape photos!
Chapter V — Detail Enhancement
This chapter deals with a variety of techniques I use to deliberately guide attention within the frame. This is also going to be a part in which we’ll be covering various adjustment layers and various non destructive methods. We’ll take a deeper dive into time saving actions I’ve provided you with, learning how to enhance color, boost the detail clarity, whiten eyes and teeth, correct redness, draw color and light where needed etc.
Chapter VI — Plugins
Although this is not a chapter that deals with skin retouching, I’ve decided to include it as a bonus, for those of you wishing to add another dimension to your photos — the ambience!
We will cover a select list of plugins that I frequently use to give my photos the extra ''spice''.
Chapter VII — Final Color Correction
The final chapter aims to help you, squeezing that last drop of color contrast out of your photo using two methods. This will give an image the final look, enhance the retouch applied and color contrast we’ve been working hard on. We will also take a look at the Retouching Checklist I’ve provided you with, analyzing and looking for all the places we can improve our retouch upon. In the end I will teach you a quick way to sharpen your photos and prepare it for export.
THE METHODS AND TECHNIQUES YOU WILL FIND HERE ARE UNIVERSAL AND YOU CAN APPLY THEM TO ALL KINDS OF PORTRAIT PHOTOGRAPHY!
(high end beauty, newborn, elopement, studio, neon, outdoor, family, boudoir, lifestyle, glamour, nightlife, commercial, couple, fine art, business…)
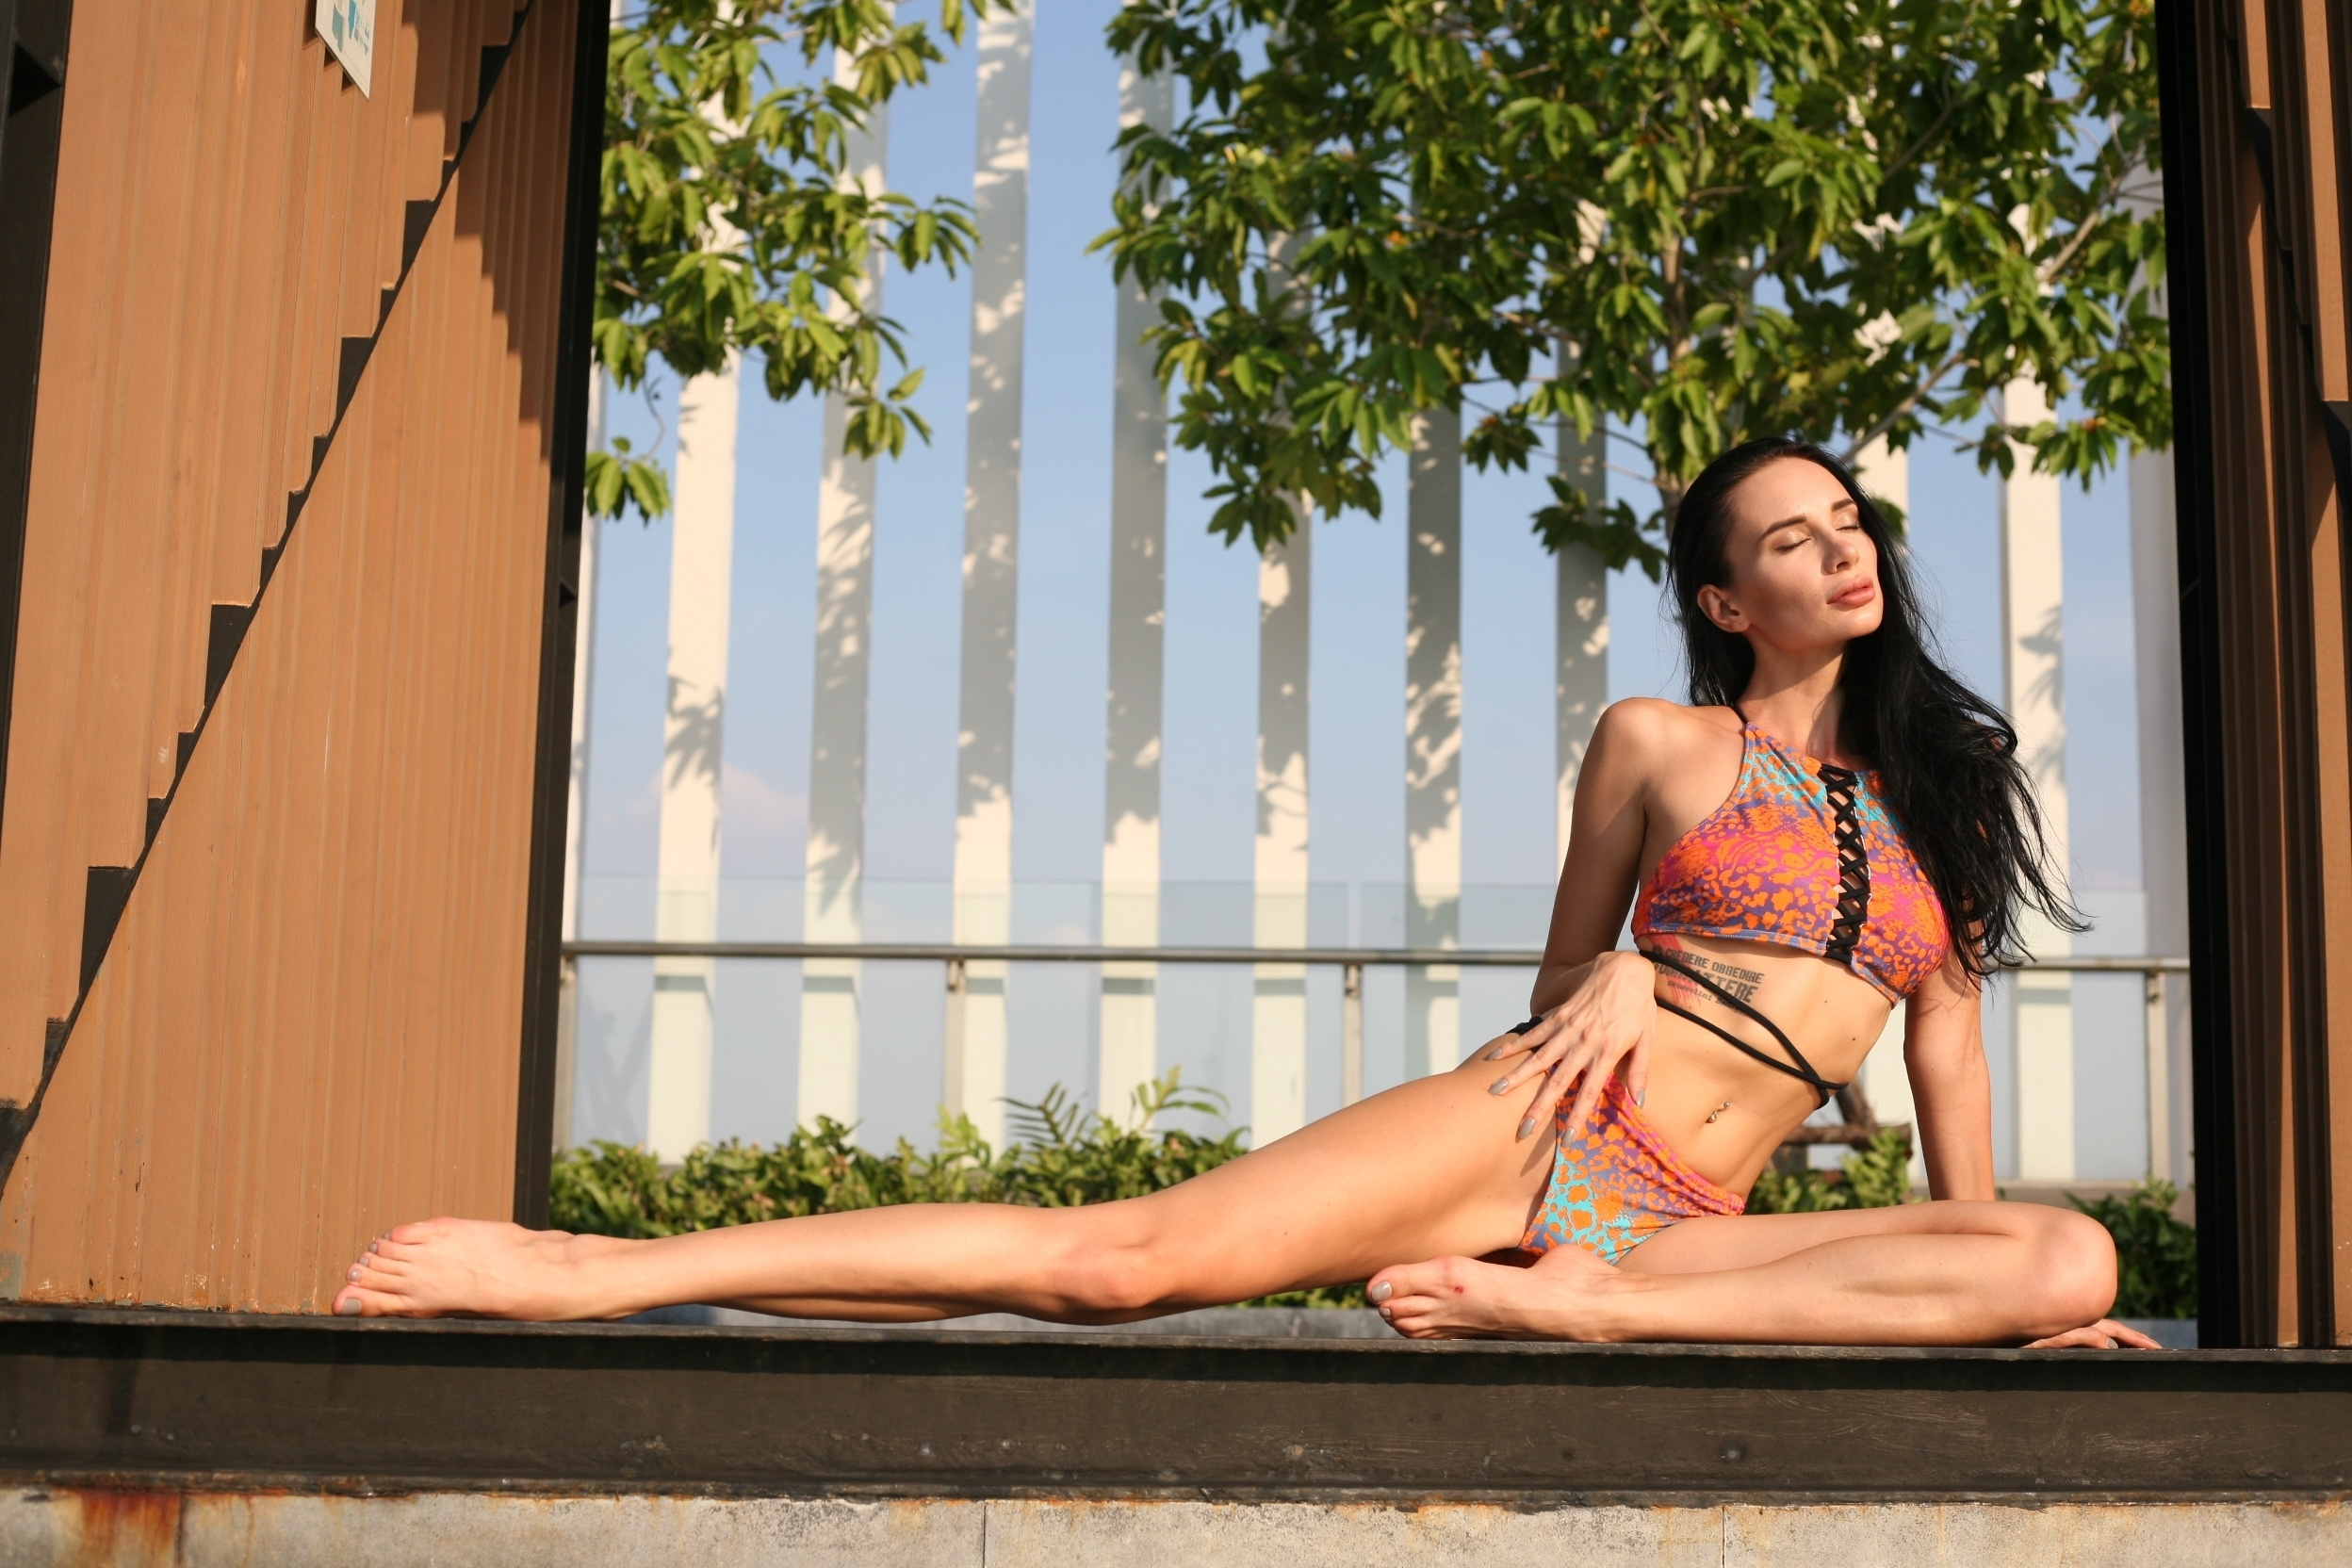
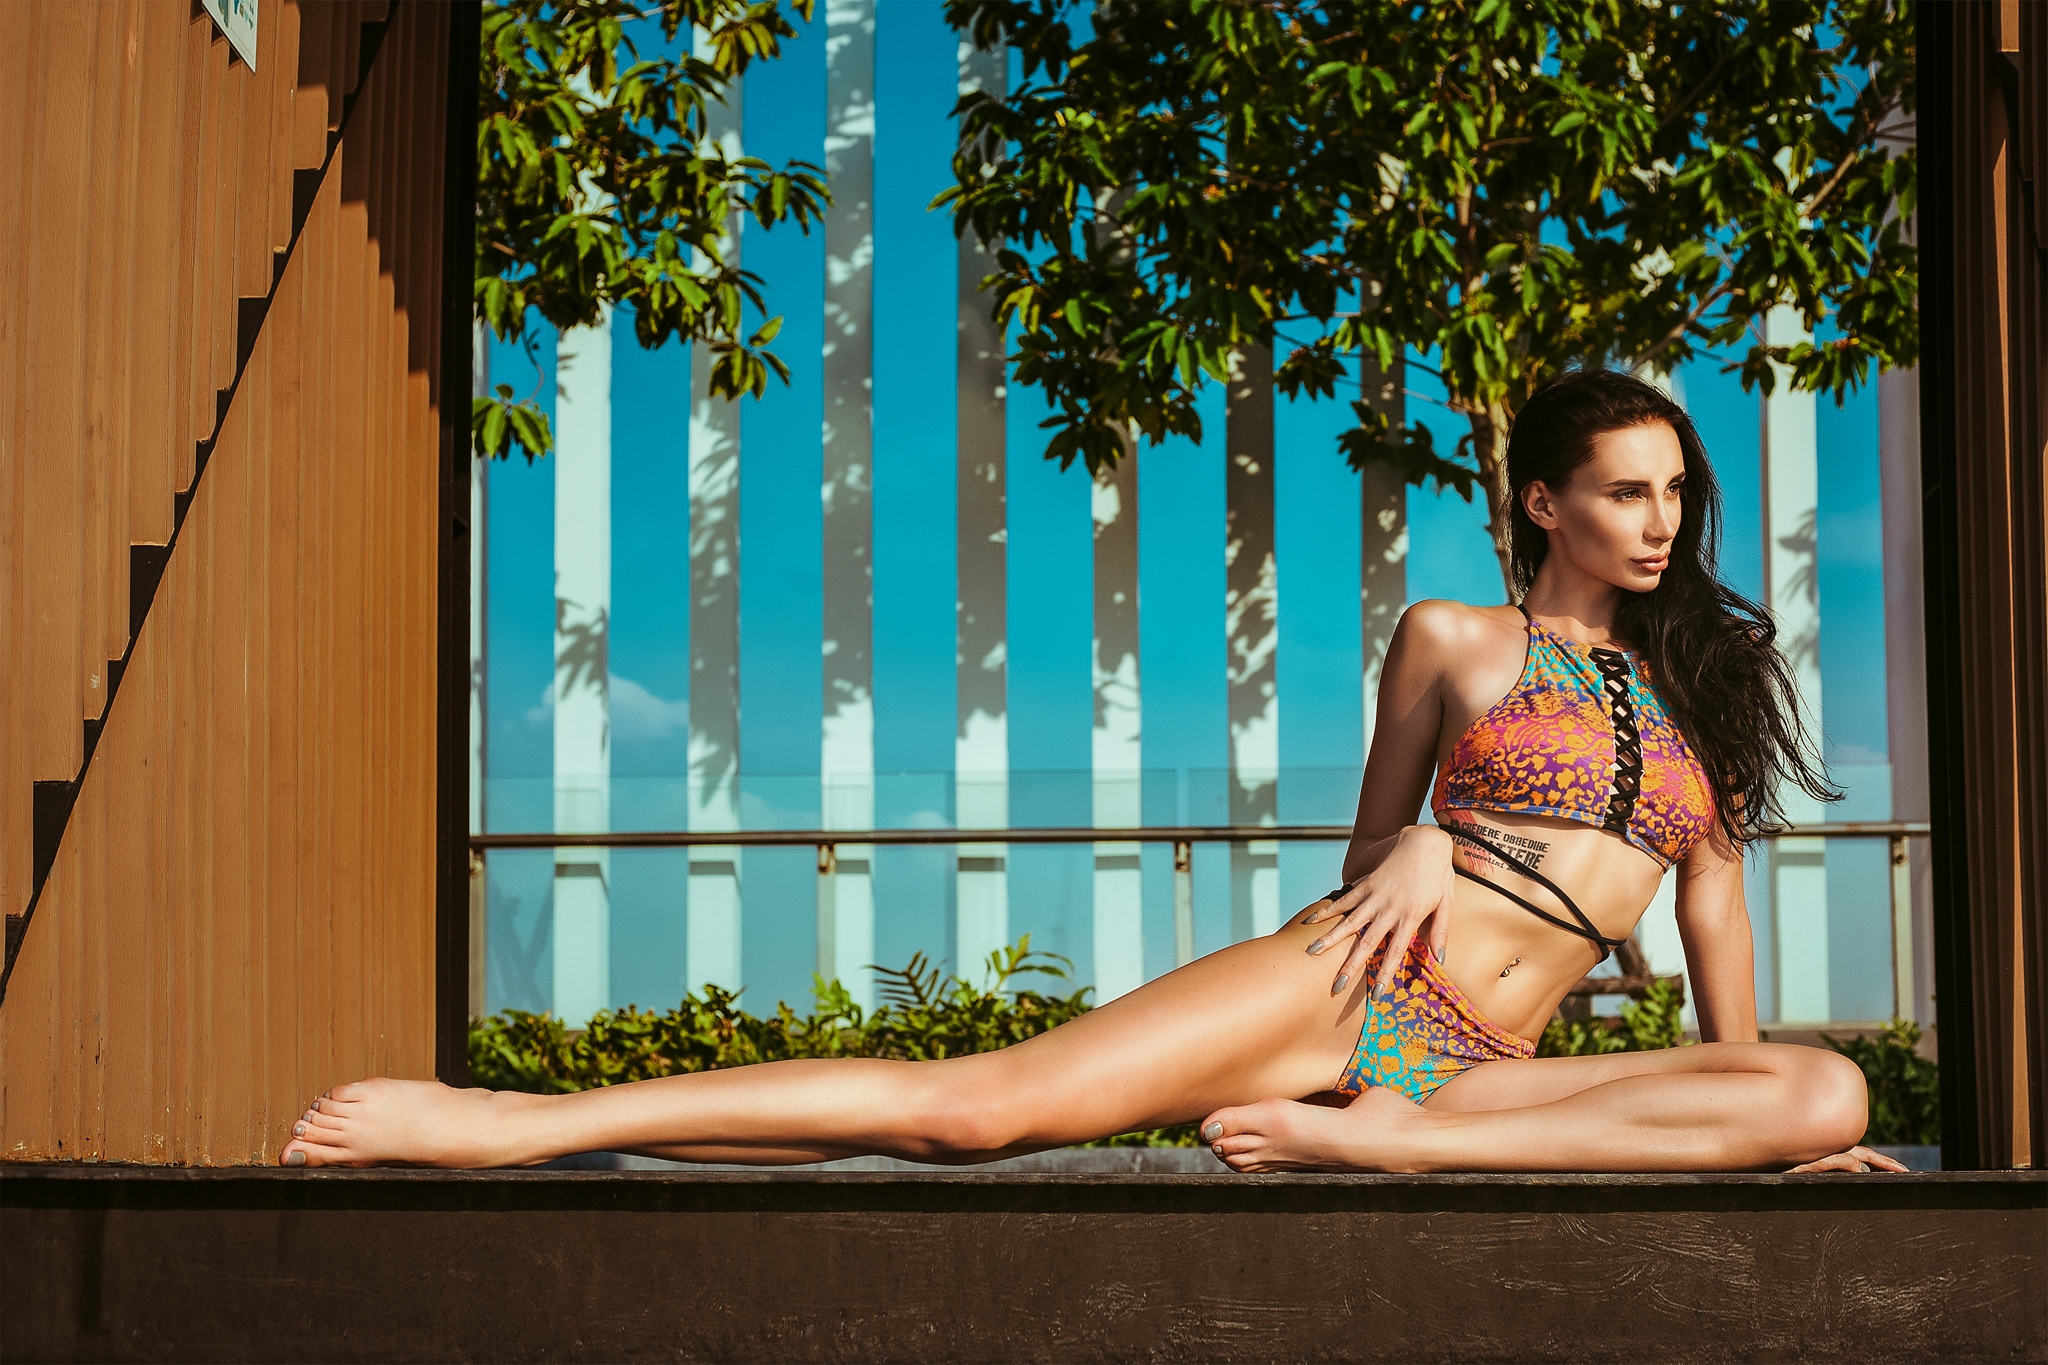
layer compositing using Masking (head) / color grading / dodge and burn / detail enhancement / color contrast & complete retouch using Frequency Separation
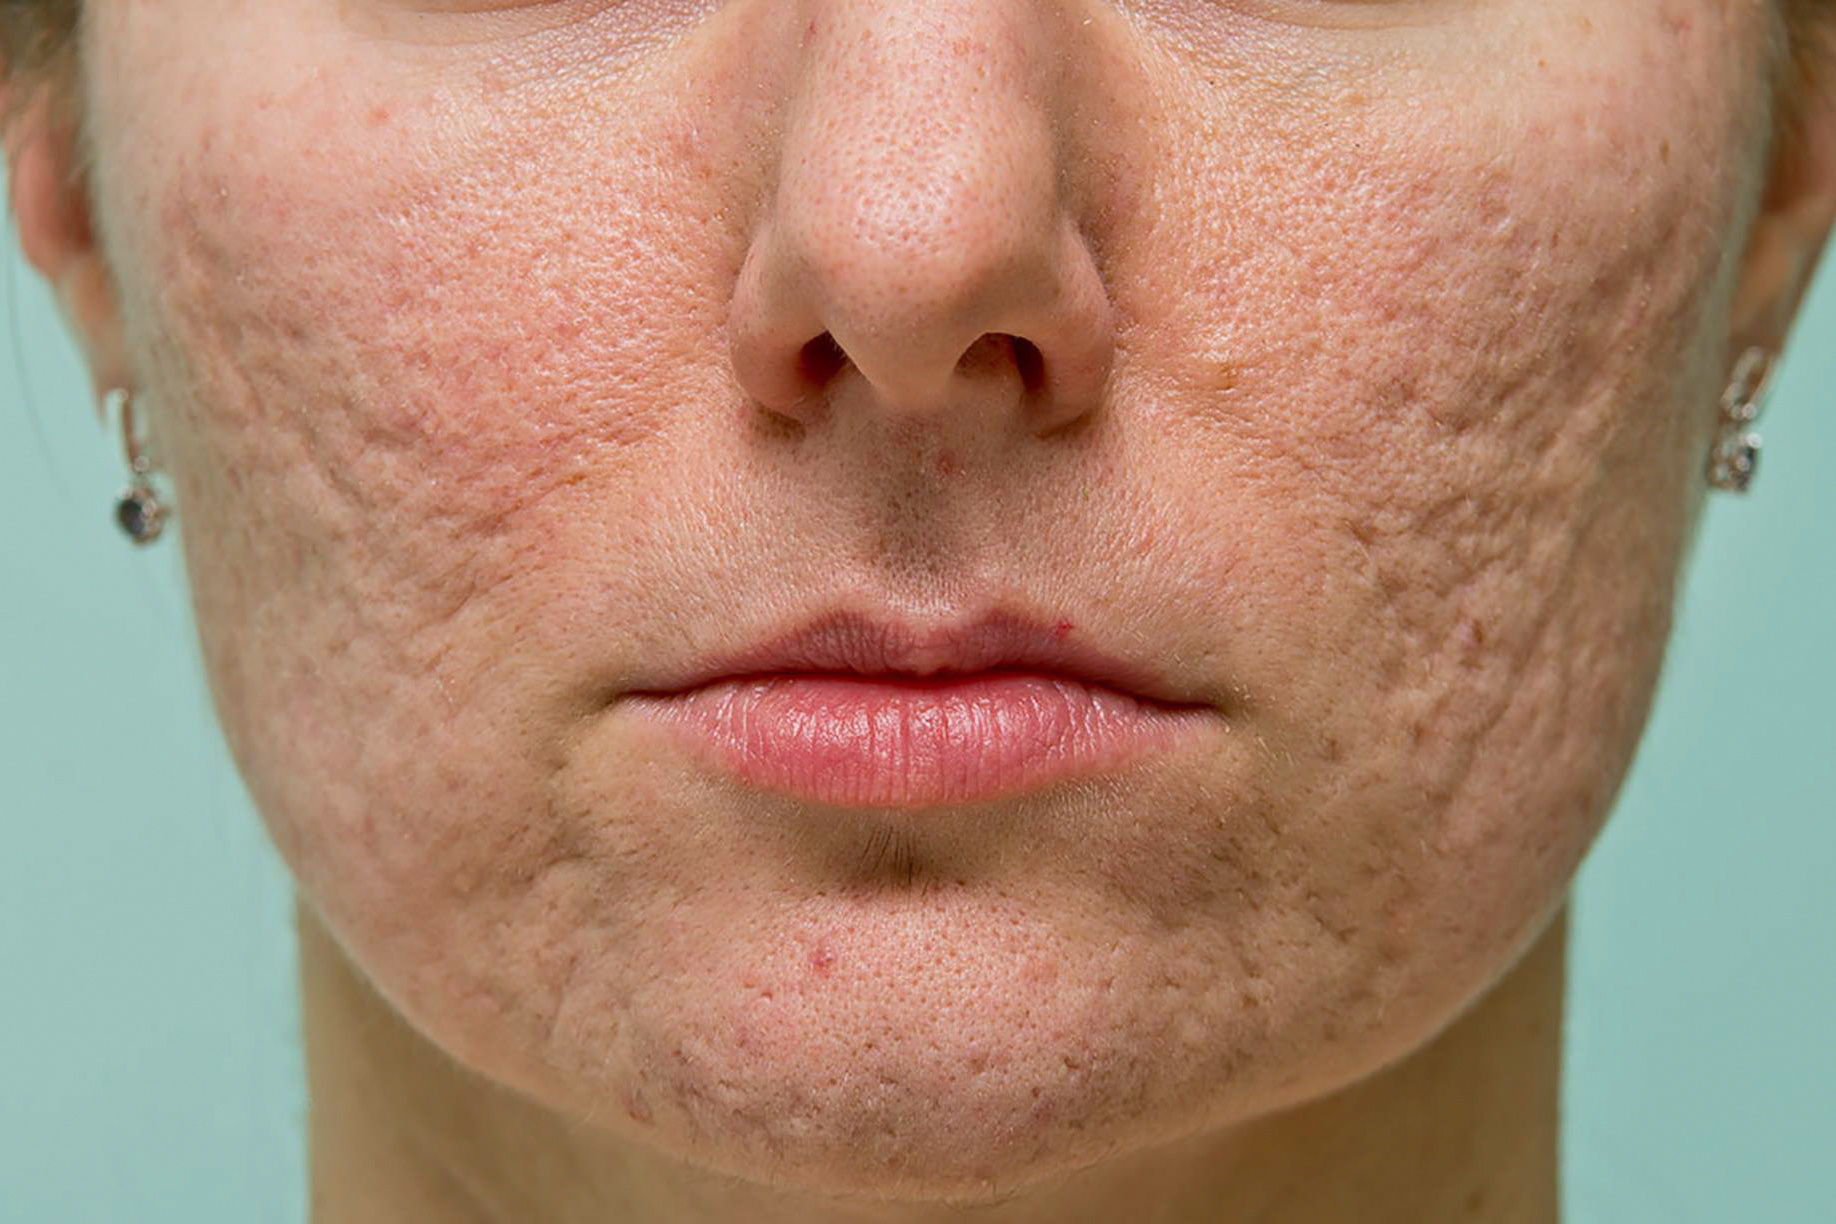
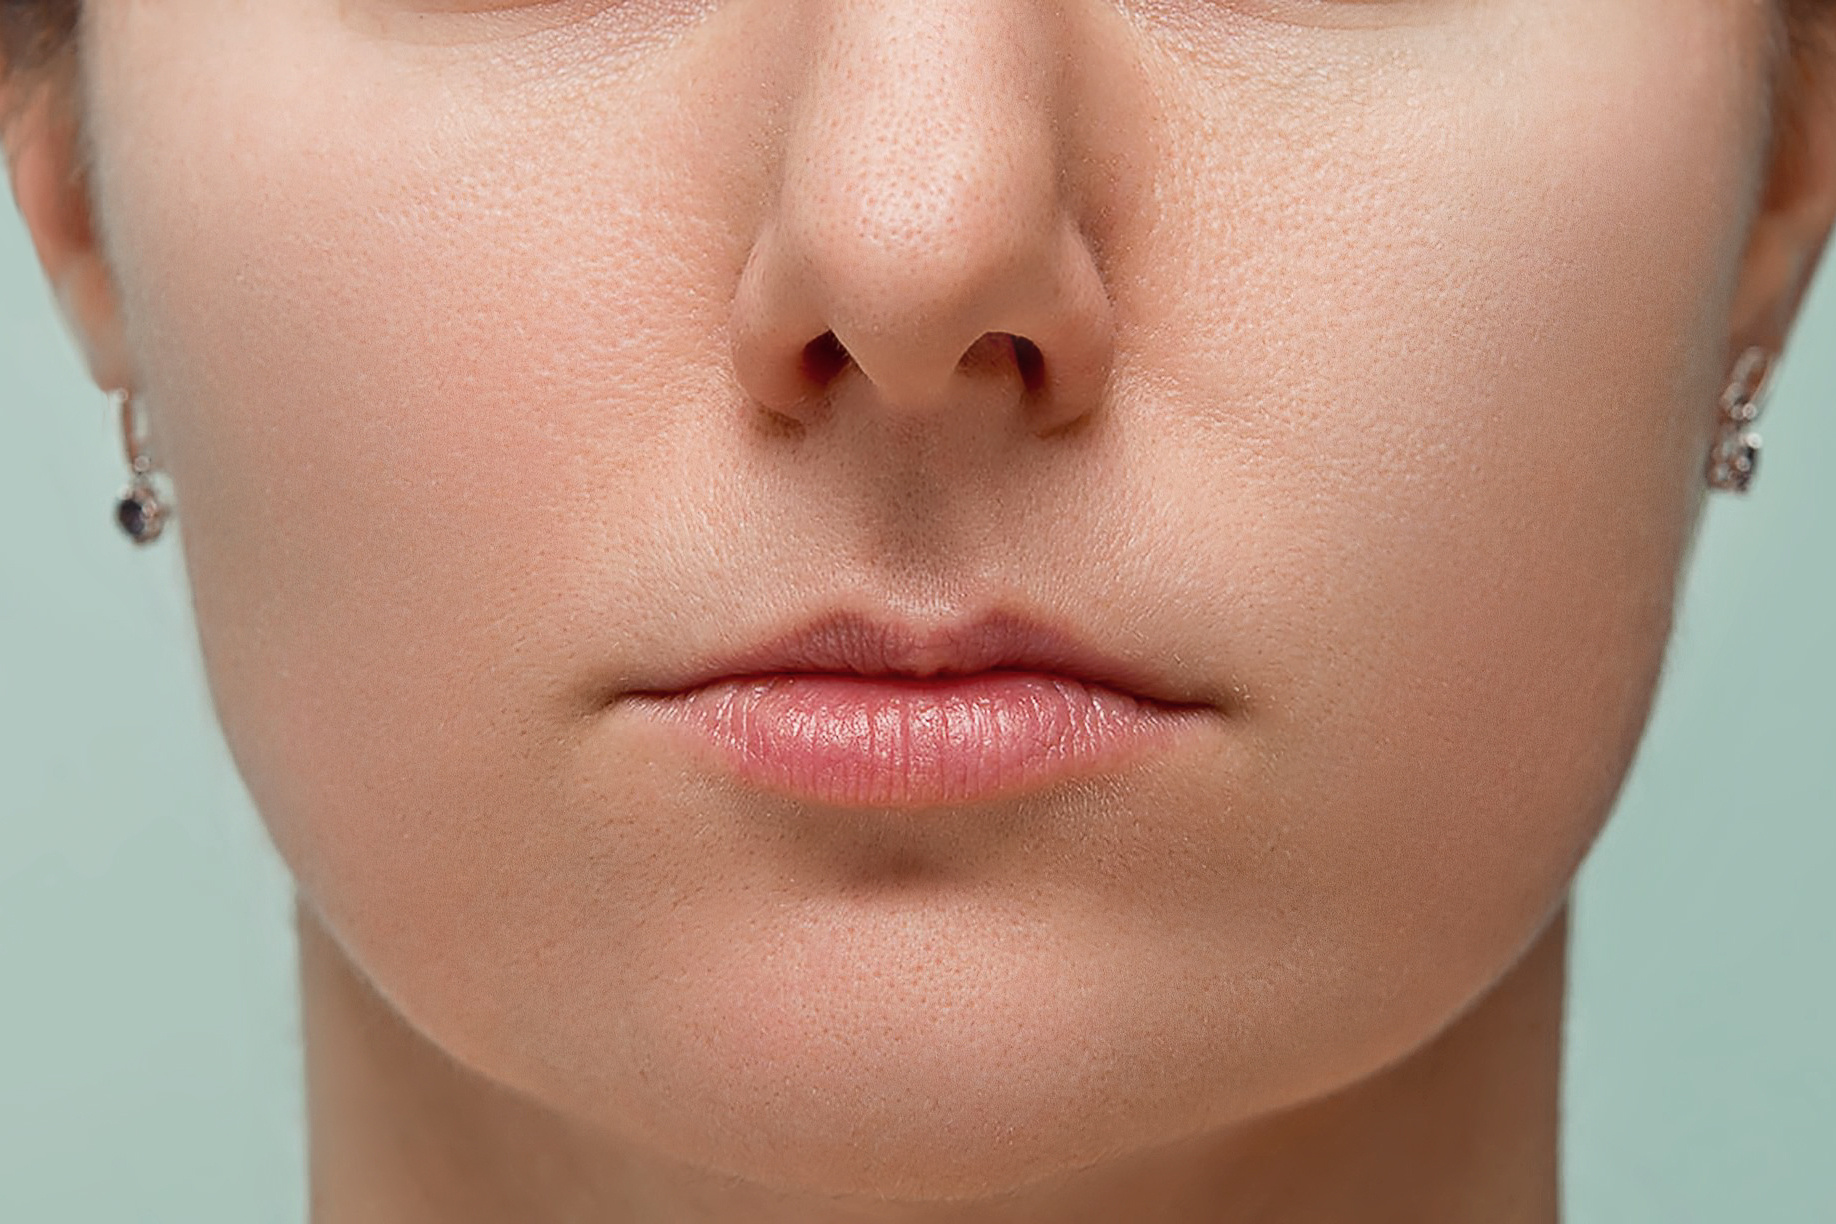
Frequency Separation / Mixer Brush / Patch Tool + Fade / Dodge& Burn / Texture Stamping / Skin Texture Creation using Noise
ABOUT THE COURSE:
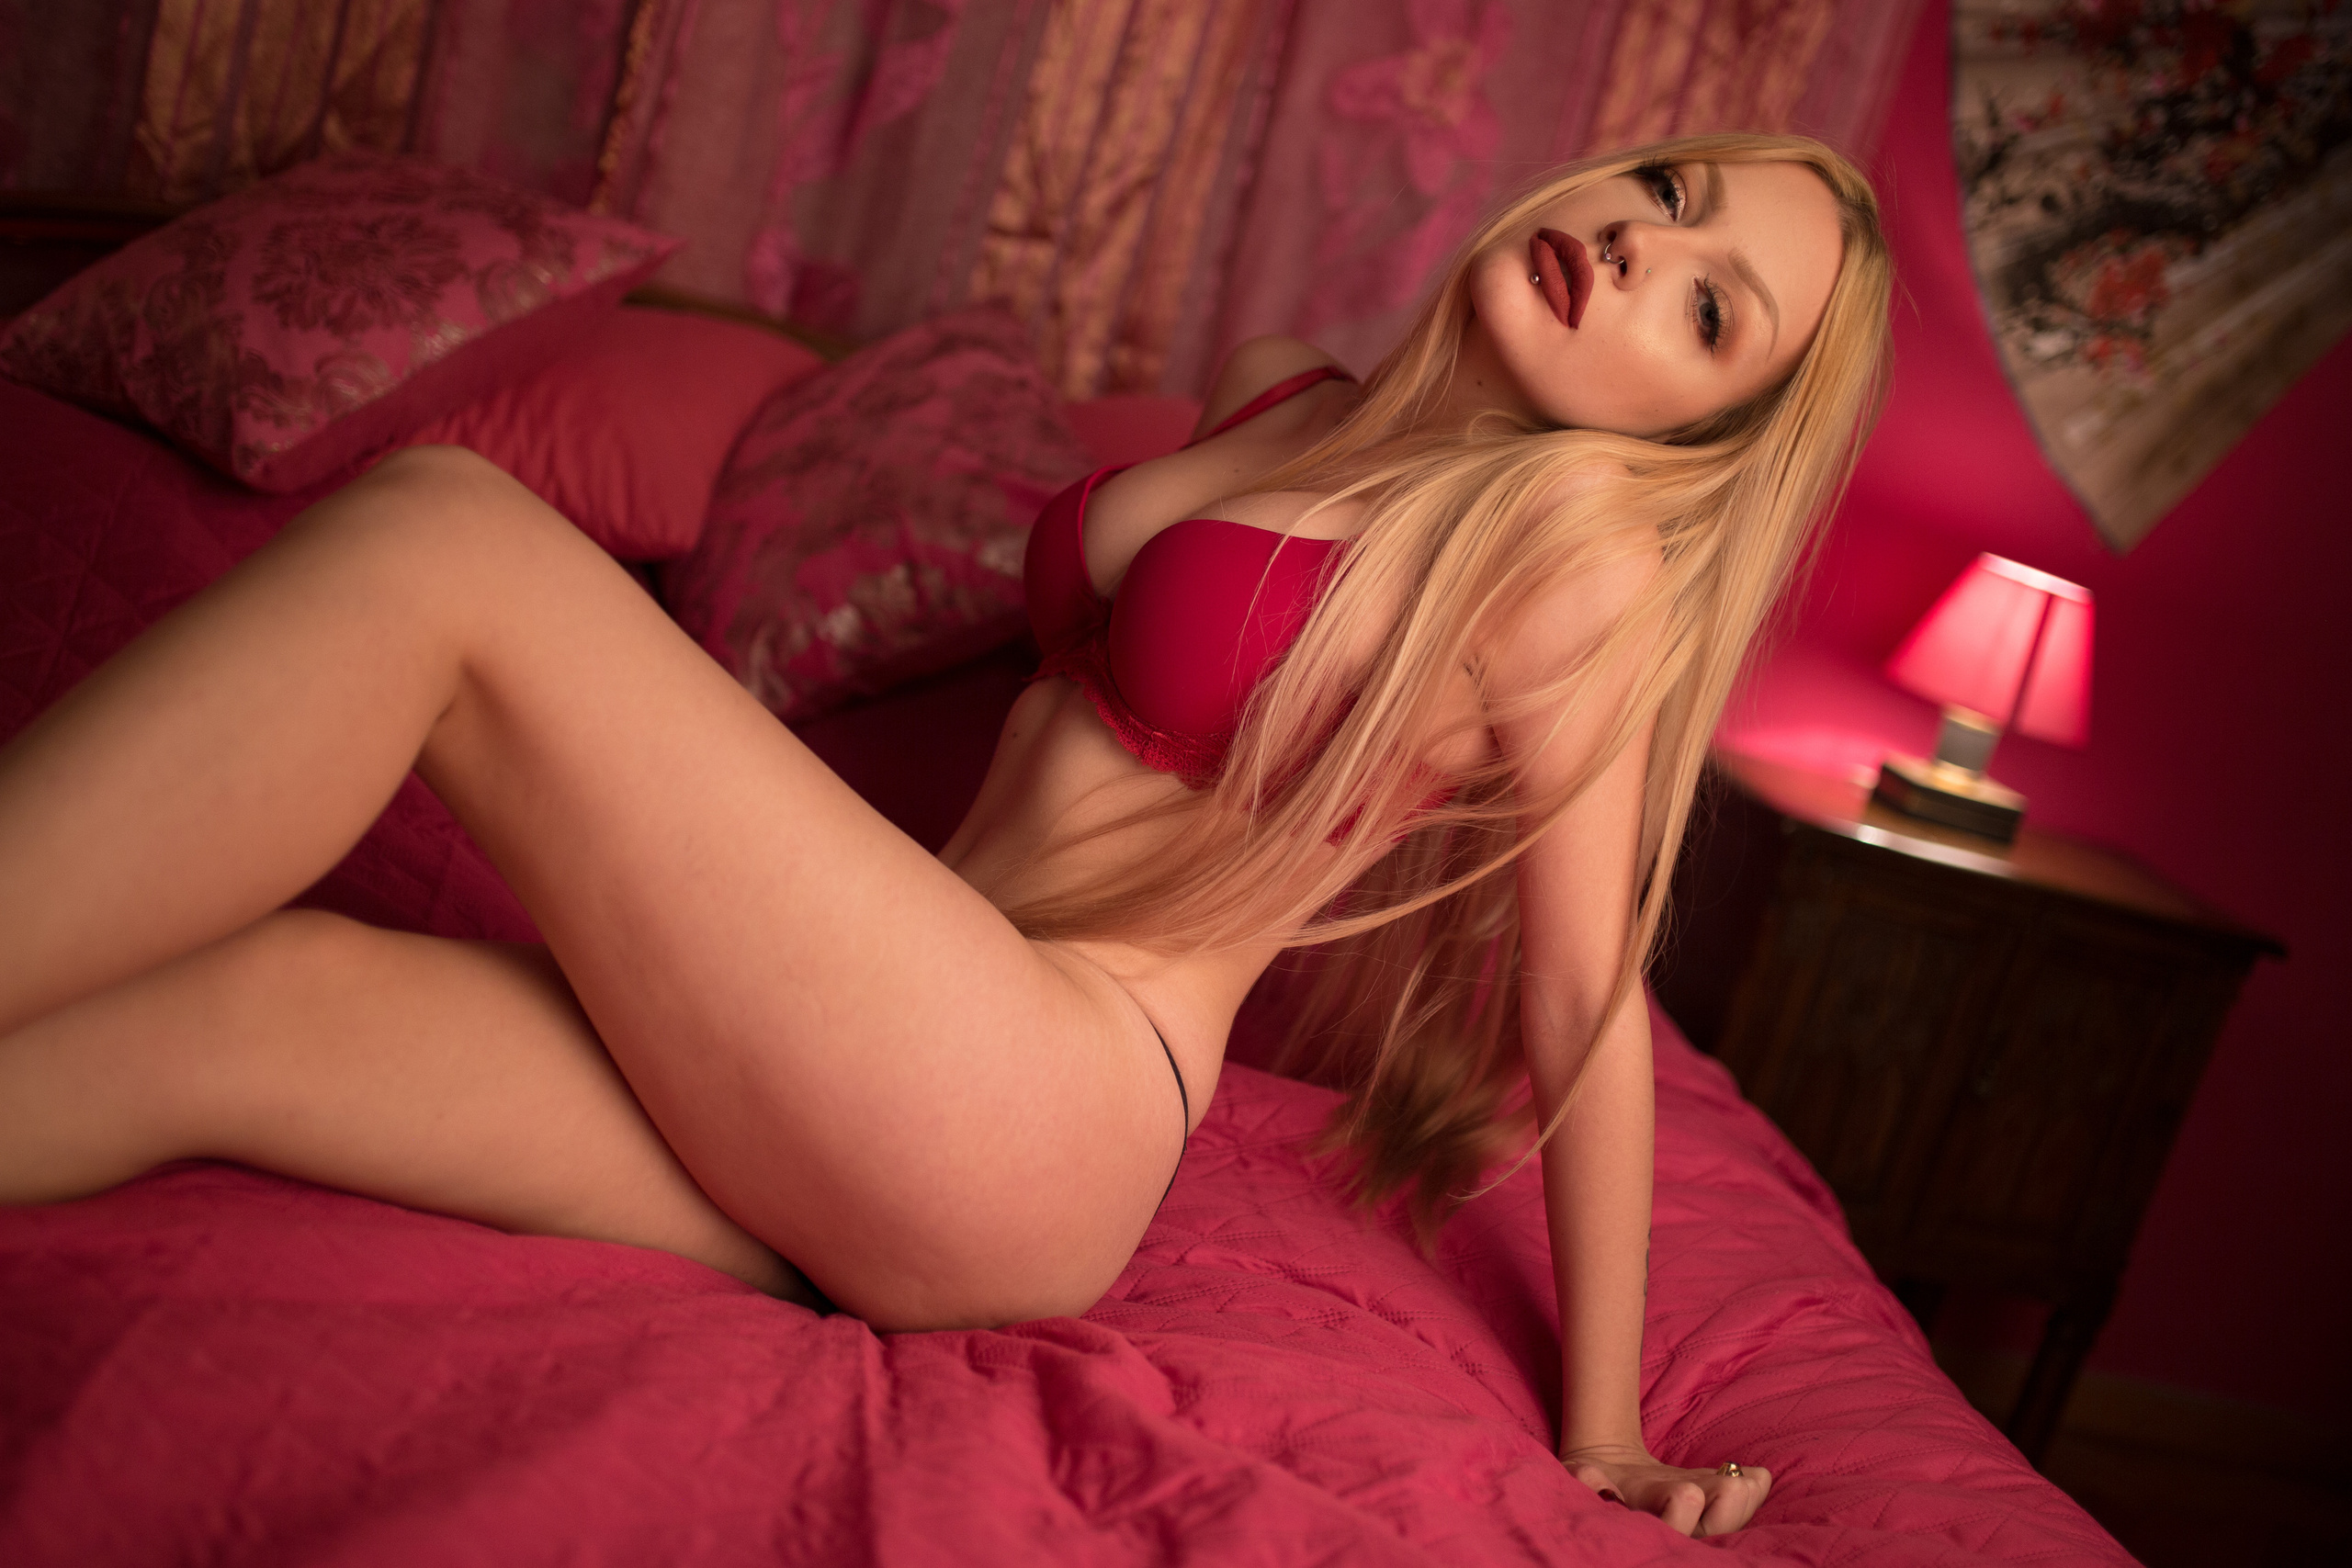
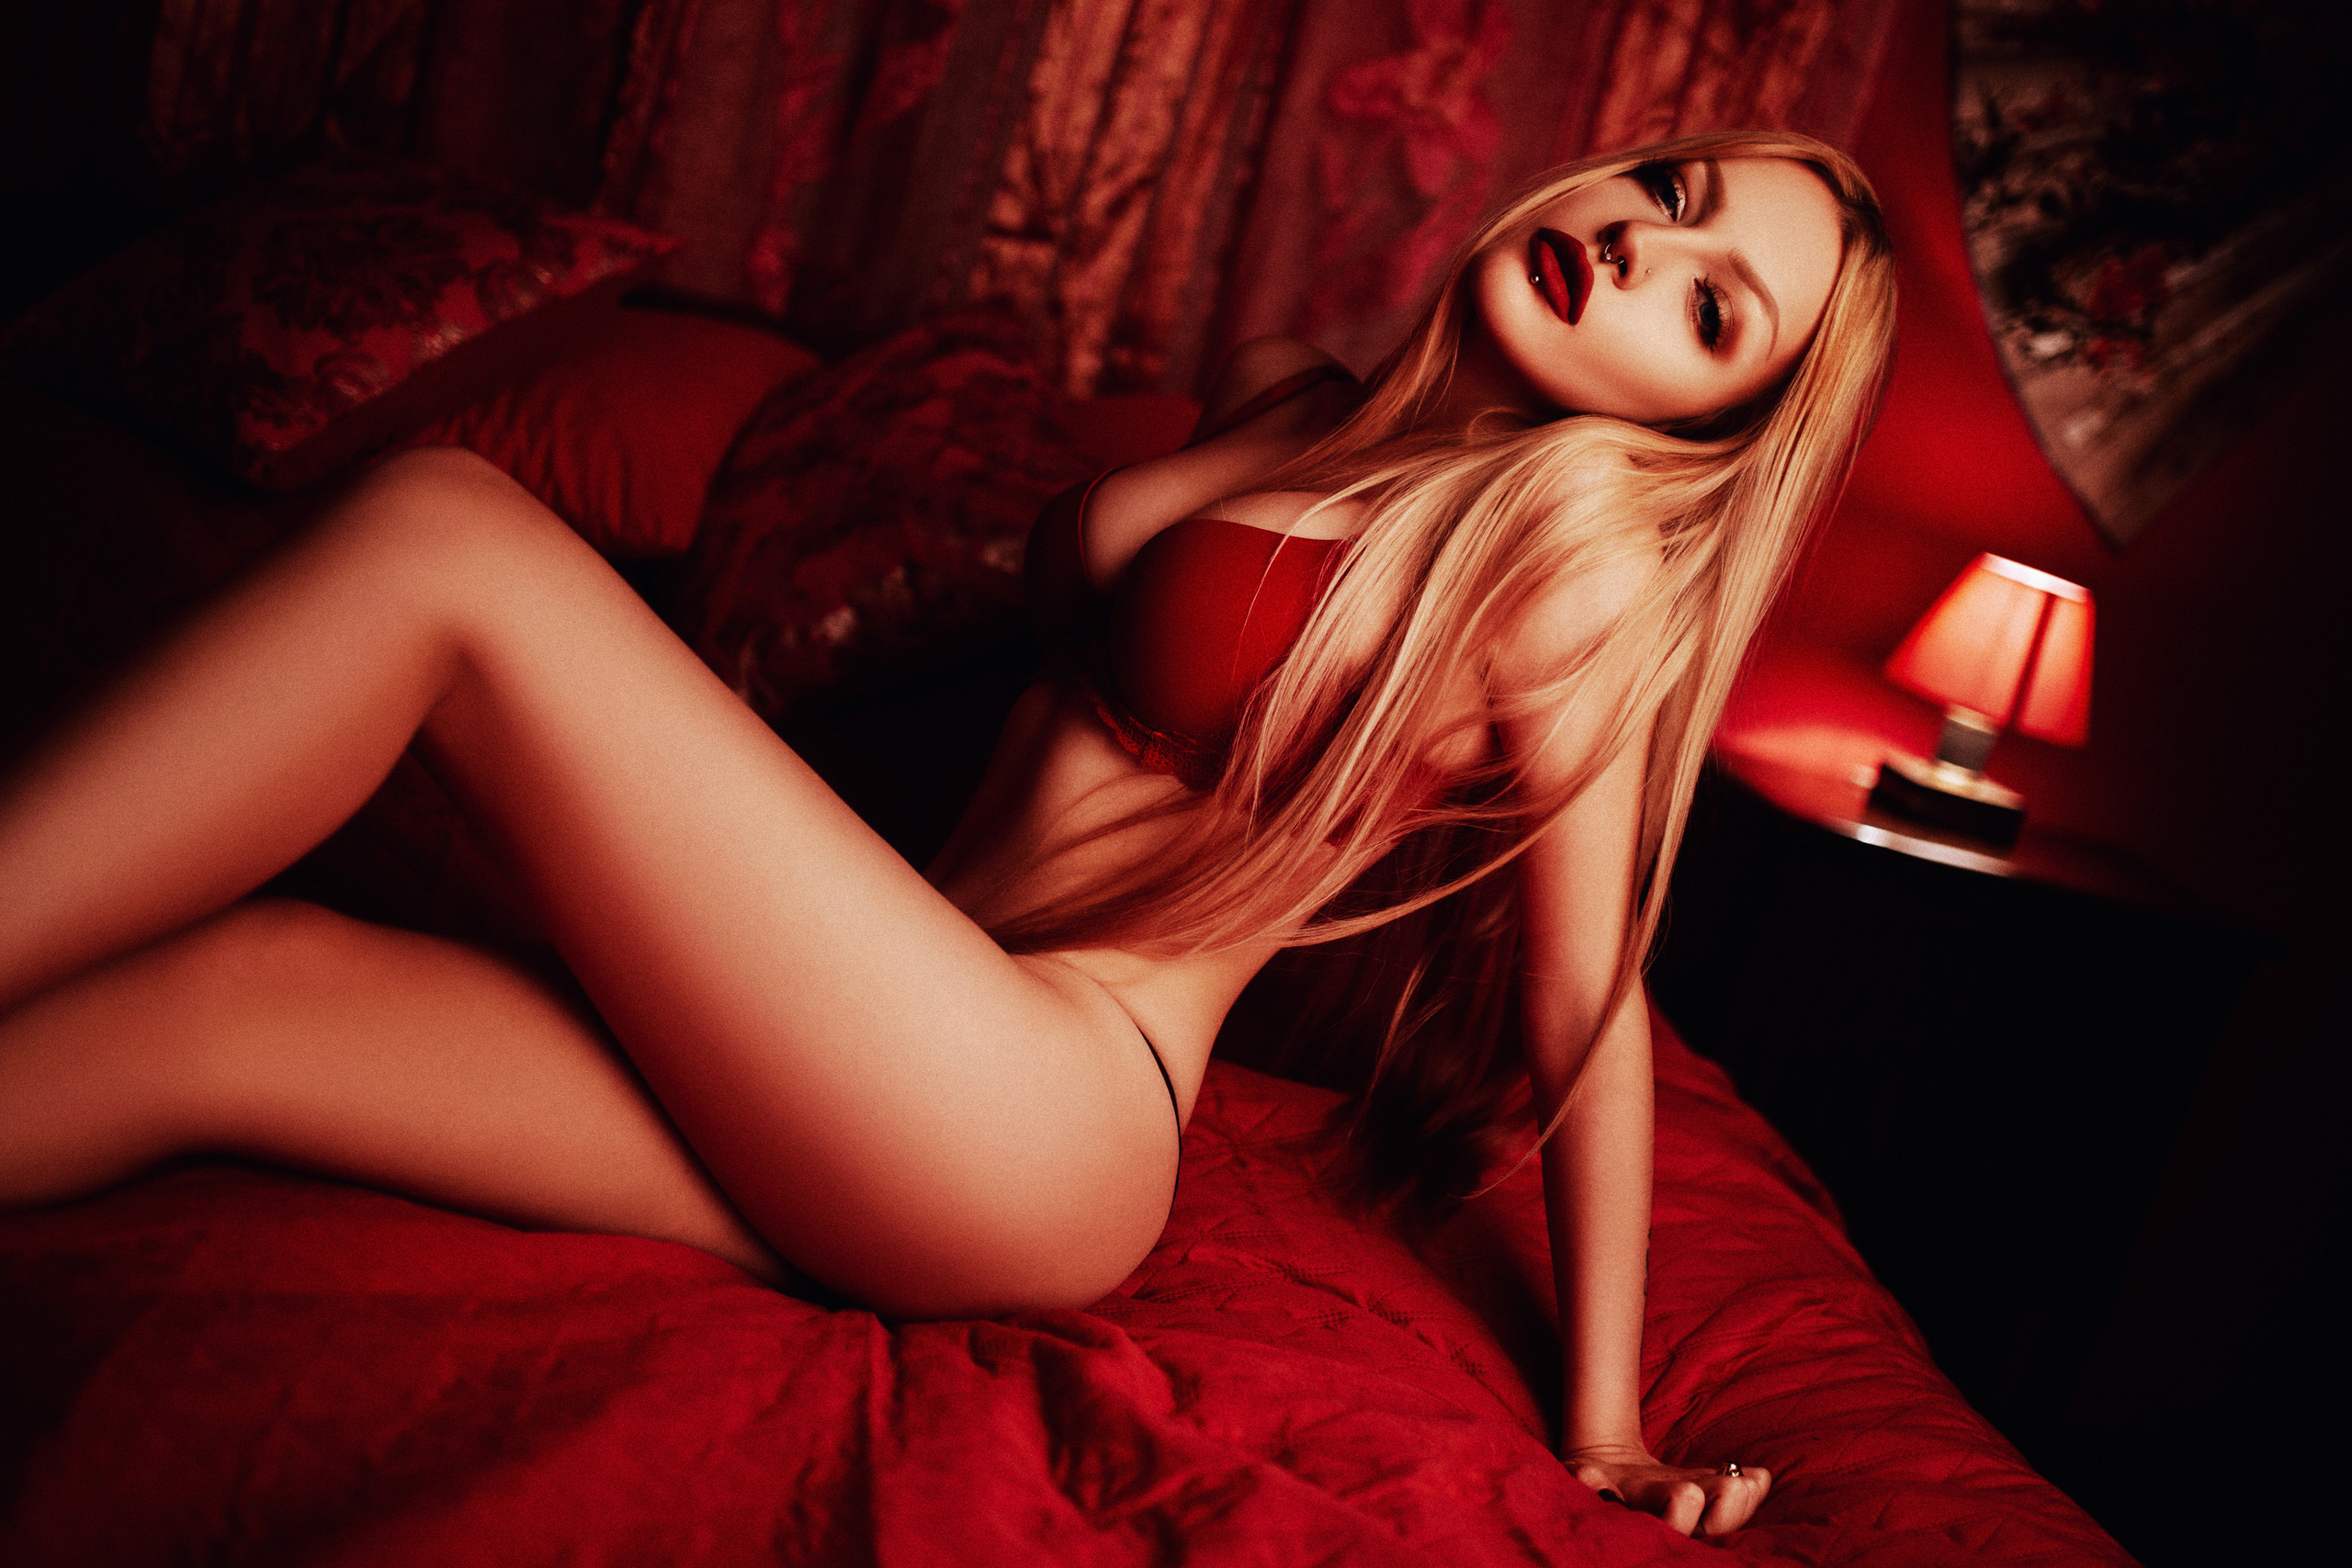
Having
spent almost a decade as a professional portrait photographer, retoucher, and
later an educator, the students at my retouching school have been reaching out to me
with questions and requests, pointing out confusing things that were troubling them, seeking
guidance and answers.
This course is my best effort to date, to give you those answers.
Working on
lessons provided here, my goals were to
1) help you save time
2) show you the professional, efficient, non destructive workflow
3) point you to things to pay attention to
4) teach you to think outside the box
5) demonstrate the creative ways of using all the tools at our disposal.
6) bring clarity into tools and techniques that so many photographers struggle with
7) spark your passion about things I am myself passionate about
Besides Photoshop education being my ‘bread and butter’, I am a passionate about good photography
just as much as I am about seeing that spark in an eager student, going through
all those ‘growing pains' of learning and finding their style. I love learning and find it to be one of the most interesting things in photography.
While style is something each of us should find for ourselves, techniques, are simply tools, that are there to help us with our creative vision.
And I am here to help you with those techniques!
